1 Day Daemons - How to Paint Plague Drones
If you have any questions / comments, please feel free to post on the forum thread for this tutorial.
Hey all, I'm covering some more beautiful Nurgle models in this tutorial, the Plague Drone kit is full of Nurgley goodness! Unfortunately there's one key aspect which stops it from being at the idyllic fan-boy level of the Plaguebearer, Screamer, or Nurgling kits which I've covered so far.
That aspect is gaps in the model...
Don't get me wrong, overall it's a brilliant kit, but the amount of prep it took was a bit of a ball-ache, as it's all the way around the model! I won't go on about it anymore, see step 1.
**I have covered painting models in bits at the bottom of the tutorial, if you're going purely for speed I'd still do the wings separately, but leave the legs on.**
Equipment
Liquid Green Stuff
Dark Tone Ink
Soft Tone Ink
Chaos Black Spray
Rotting Flesh
Nurgling Green
Warlock Purple
Screamer Pink
Leviathan Purple
Druchii Violet
Gryphonne Sepia
Seraphim Sepia
Thraka Green
Biel-Tan Green
Matt White
Matt Black
Skeleton Bone
Sunburst Yellow
Flash Gitz Yellow
Leather Brown (XV88 is close)
Clear Red
Clear Green
Clear Yellow
Clear Orange
Step 1: Pre prep - eurghhhhh.
 Step 2:
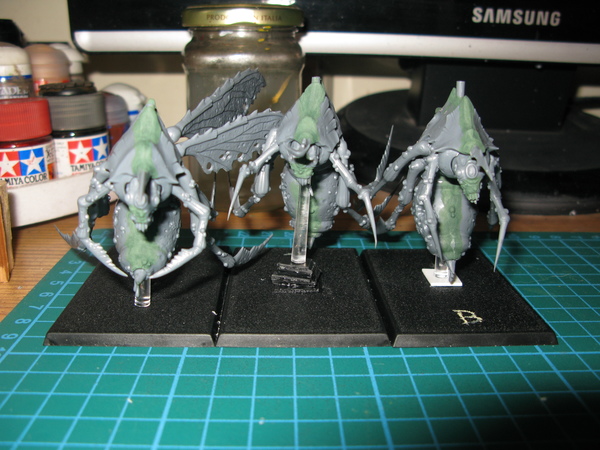
 Pre-shade - undercoat Chaos Black, then (airbrushed) spray white from above, and at an angle against the armour plates (armour plates work not really necessary, see bottom of tutorial).
 Step 3:
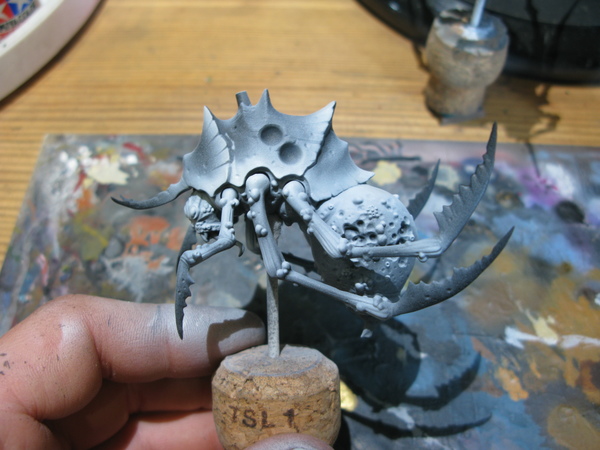
 Rip those legs off, and undercoat the fleshy bits (not forgetting the legs) with rotting flesh and glaze medium 6:1(ish).
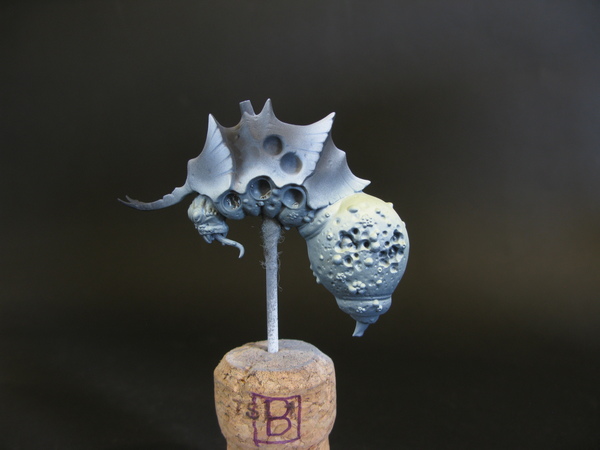 Step 4:
 Warlock purple on the bruised bits, be careful, but don't worry if this looks a little harsh, we've done it before the drybrushing for a good reason!
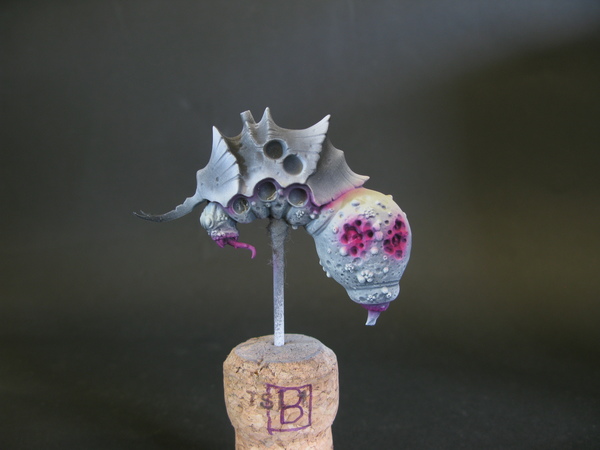 Step 5:
 Drybrushes! Rotting Flesh + Matt White 1:1, all over, and then a final super light drybrush with more white added, again all over. (Do all of these stages on the wings and legs also).
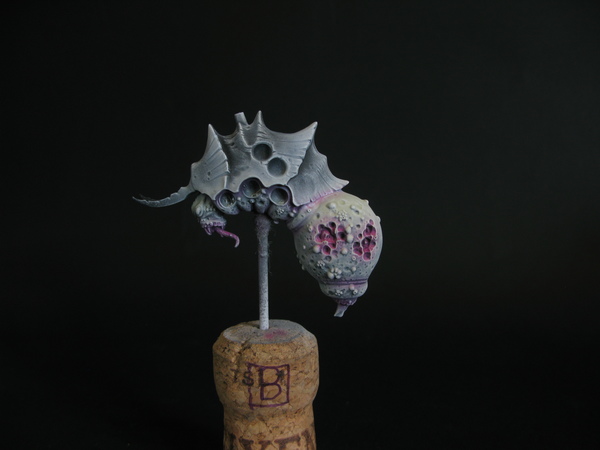 Step 6:
 Stick the limbs back on, and undercoat the boney bits. I used Leather Brown (you could use XV88 from GW) and matt black, with glaze medium mixed in.
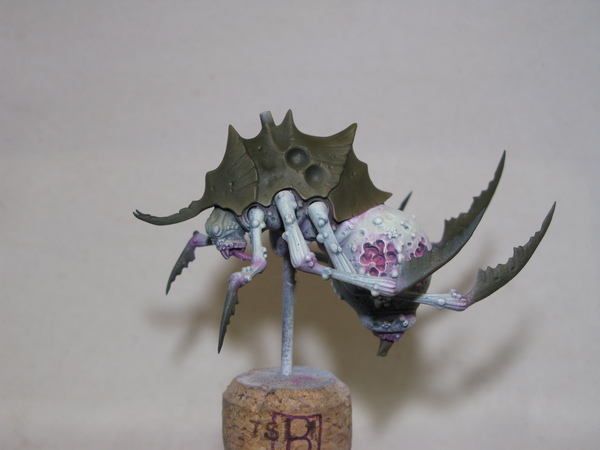 Step 7:
 WASH! Oh joy, my favourite bit, biel-tan green and seraphim sepia, with a touch of glaze medium, all over, keep it thin. Normally i'm not a massive fan of the new GW shades, as their finish is a little bit glossy, but for nurgle it's perfect.
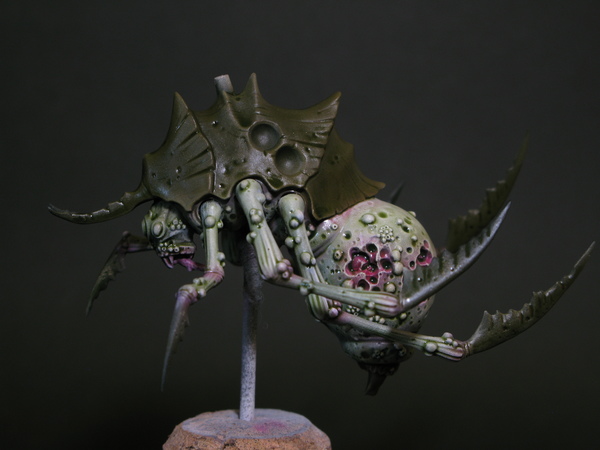 Step 8:
 Highlight the bone with Leather brown, I went for conventional, but drybrush would probably work just as well.
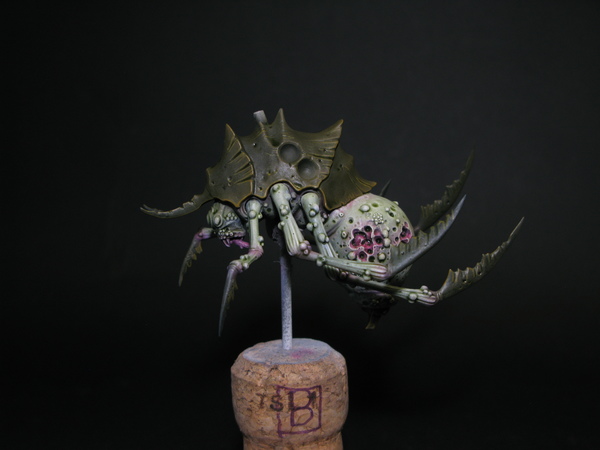 Step 9:
 Wings! Undercoat the non-membrane parts with the mix from step 6.
(Drybrushed from previous stages)
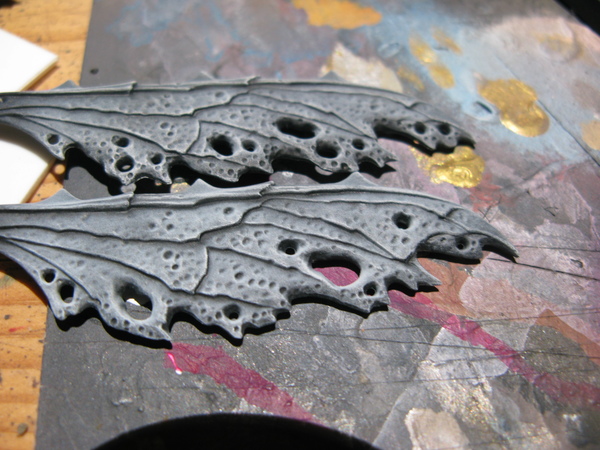
Undercoated:
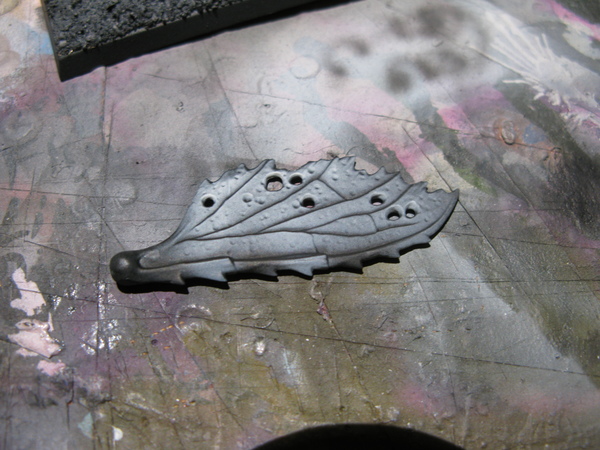 Step 10:
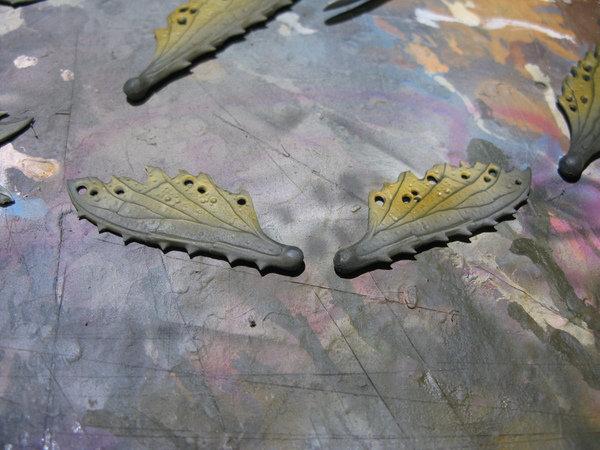
 Wing Highlights - hit the membranes with Leather Brown mixed with Glaze Medium, the work put in earlier with the drybrushing should show through nicely.
 Step 11:
 Drybrush time! Similar to the treatment that the body got, but this time it's done with no wash to come after, Skeleton Bone + Leather Brown 1:1, and a final super light coat with more Skeleton Bone added. At this point the wings are done, I added a quick wash to the non-membrane bits like the one done earlier to tie them in with the carapace.
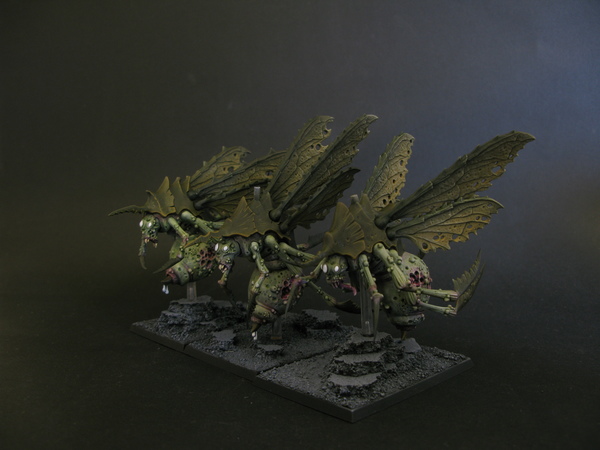
(apologies for the picture).
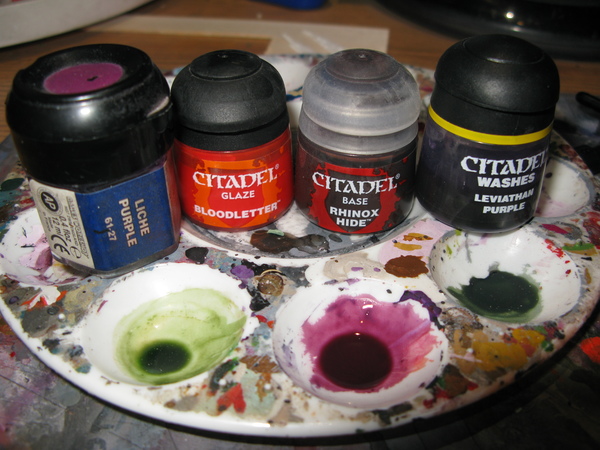
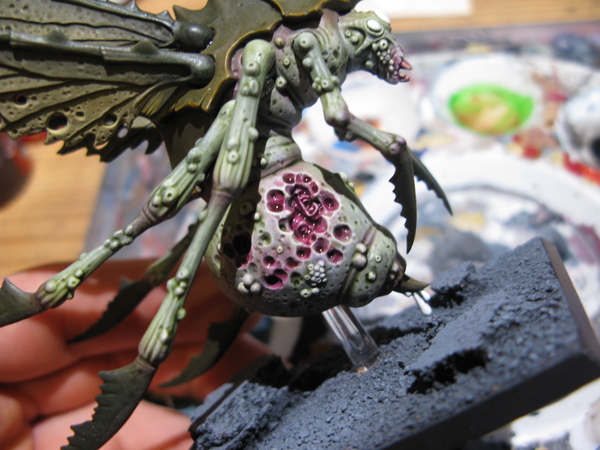
Step 12: Detailing - Gore. I washed the recessed gore bits, tongues and mouths with a purpley red mix. The mix was mostly the glaze and wash, with only a touch of the paints added, you want to keep transparency!:
 Step 13:
 Tamiya! Go in with Clear Red and Clear Orange 2:1 on the gribbly bits, and clear green (not shaken, so it's more yellow than normal) on the poison stings.
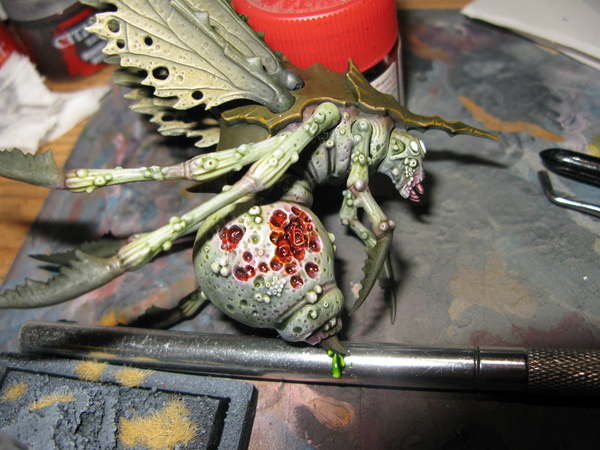 Step 14:
 Eyes, undercoared white, painted leather brown, washed with dark tone ink, highlighted with sunburst yellow, and dotted with sunburst + white.
Apologies for the lack of a close-up here, I wasn't satisfied with the quality of the pictures, and am hoping to do a tutorial on big bug eyes in the near future to cover painting them more adequately!
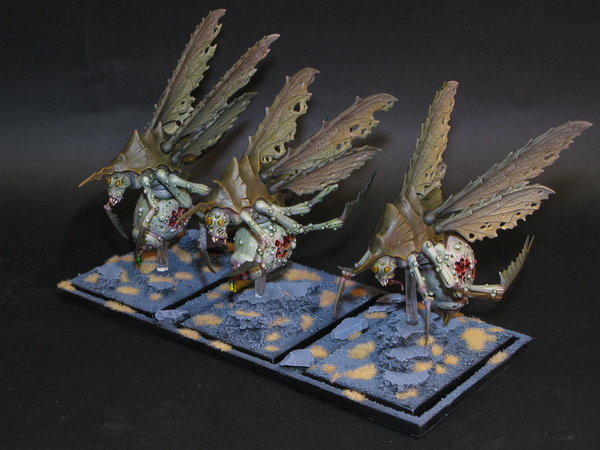
Done!
**Painting minis in bits**
Painting models in pieces is nothing new, however gluing them together, painting them a bit, and then pulling them apart probably is a little less common!
My reason for dong this is that I want the entire model to have natural pre-shades, so it had to be done at once, but I also wanted to be able to drybrush everything possible, and thought that the legs would get in the way. The wings would make things impossible!
In retrospect given that the mini is getting washed anyway this maybe wasn't 100%necessary, but it did allow me a fair degree of control for shading the leg joints purple, and drybrushing.
Also in hindsight the time I put into preshading the armour plates on top was wasted, either I should have used more glaze medium in the mix, or just ignored preshading, doing a basecoat and edge-highlight only.
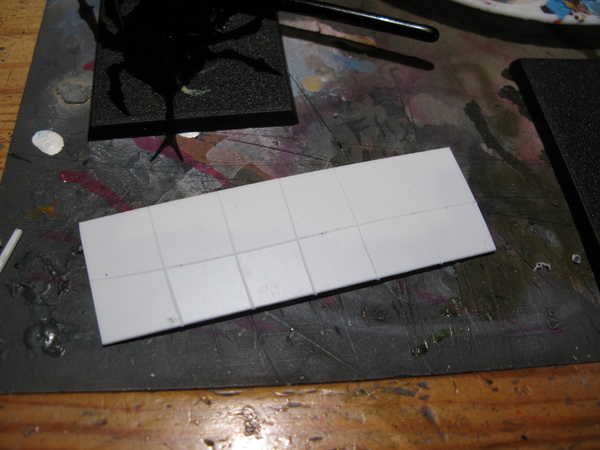
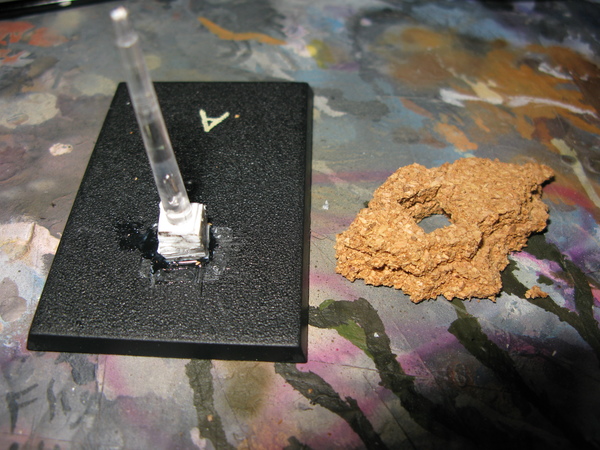
And finally a note on basing - I used plasticard squares, with I carefully drilled holes in with an x-acto blade, and cork to base these minis. The solid plastic in the centre keeps things stable.
What our customers are saying...
Sign up for our newsletter - for the latest news and promotions
Element Games Team
Stockport Store and Gaming Centre
