How to Make Swamp Bases
If you have any questions / comments, please feel free to post on the forum thread for this tutorial.
***Disclaimer: This style of basing is completely and utterly, shamelessly stolen from Russ Veal, who has done it far better and en masse in his WoC. His army blog will shortly be available in the HeelanHammer SAWC section.***
Hello there guys 'n' gals, I recently was asked to put out a how to paint swamp bases tutorial, an excellent request as it's a theme that can really add interest to an army for a number of reasons:
Height
Difference in texture (glossy water effects)
Interest
Colour - you could go any way you liked, magic and mystical or realistic.
However, I had to learn to build them first, this is my first attempt so could definitely be fine tuned, but this is what I arrived at.
In the tutorial I'm making two bases alongside each other, one is an upside-down base, the other is the right way up, upside-down bases allow for more depth, but aren't to everyone's taste. Variety is the spice of life!
You could exchange the cork for slate, or slate and sand easily at any stage for a different final look, it's all down to preference, however it is much easier to pin minis to cork, so bear that in mind!
How to build Swamp Bases
Equipment:
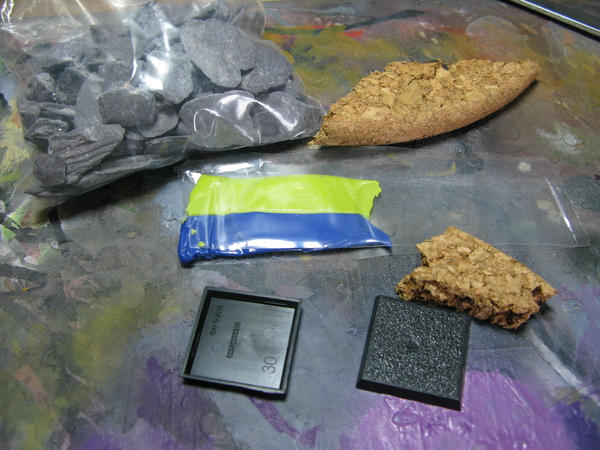 Small Slate
Medium Thickness Cork
Green Stuff
Liquid Green Stuff
Small Slate
Medium Thickness Cork
Green Stuff
Liquid Green Stuff (not pictured)
Your preferred glue -
Super Glue for the impatient
 Step 1:
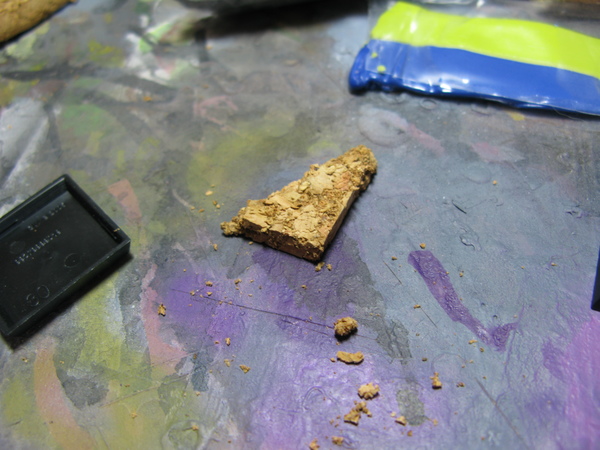
: Cut your cork to the desired thickness, if you want a rough texture cut it thicker than wanted and dig away at it a little with a sculpting tool, or carefully with a hobby knife. When cutting cork a sawing motion with your hobby knife works better than pressing or dragging.
 Step 2:
: Cut/tear it to the right size, if cornering/fitting to base place your base on top as a guide to get a right angle, and either cut or draw around it to use as a guide.
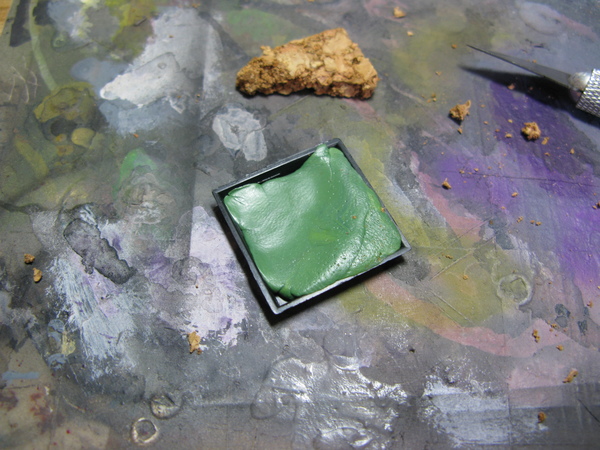
 Step 3:
: Fill your base - mix and warm your greenstuff (it'll smooth more cooperatively if warm), in this case I build it up to give the cork something to stick to. The GS will allow you to make a smooth but not-level surface, I used a wet finger and then a sculpting tool to get the edges. Fix your cork (or slate) with PVA/Superglue.
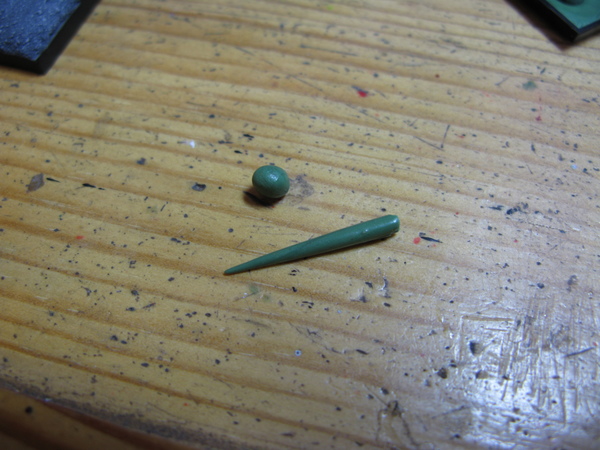
 Step 4:
: Bubbles (and tentacles)! Roll sausages out on a flat surface, with more pressure on one end for tentacles, and balls for bubbles. If you have any ball bearings, beads, or airsoft pellets etc you could use these instead.
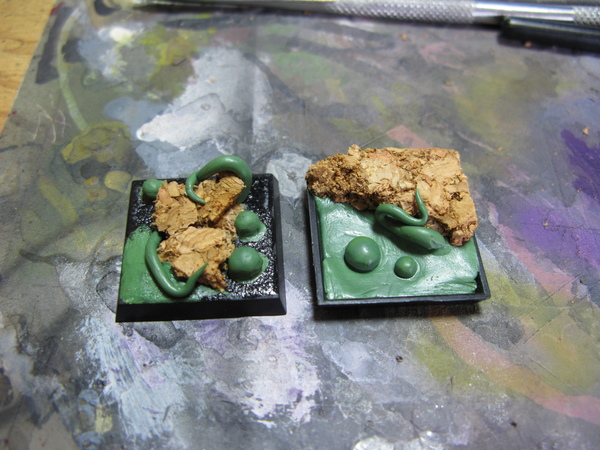
 Step 5:
: Detail the base - pop your bubbles on, I pressed mine on gently, using the plastic the GS comes in to stop myself from fingerprinting the bubbles, then gently pressed the edges down with a sculpting tool. The tentacles were poked into place, had the base fixed, again with careful use of the sculpting tool, and were then prodded into shape. Bear in mind tentacles will get slightly in the way of drybrushing rock, so keep them to slime/water, or maybe don't use any if in a rush.
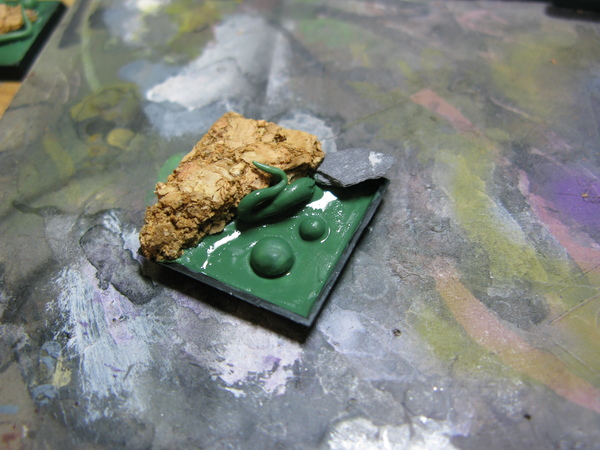
 Step 6:
: Final details + smoothing. I didn't quite like the higher section of Green stuff on one base, so I put a but of slate on. This also gives a nice overhang, shading the slimey bits, which I think added something to the look of the base.
I went quickly over all of the slimy bit with 1:1 liquid green stuff and water to smooth it out a tad.
You can also use PVA or superglue to smooth out the base, these have the added bonus of ensuring everything is fixed and sealed nicely.
 Done!
Done!: I'll have a painting tutorial for these up in the
Basing Bible asap.
What our customers are saying...
Sign up for our newsletter - for the latest news and promotions
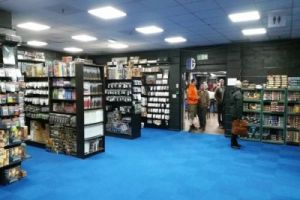
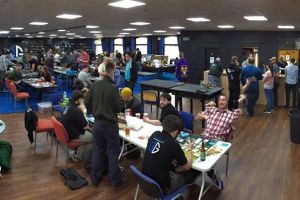
Element Games Team
Stockport Store and Gaming Centre