How to paint a Flamespyre Phoenix (Airbrush Heavy)
If you have any questions / comments, please feel free to post on the forum thread for this tutorial.
Hello there guys 'n' gals, before I get into the tutorial I need to mention a couple of things.
Firstly my apologies for the quality of the pictures, both of my lights that I paint and photograph under blew last week, they are fluorescent and provide a lovely ambient clean light for both - they have been sorely missed! This, coupled with my camera's inherent difficulties with the colour red has meant that the photos taken aren't at the quality I'd like them to be - and in order to show the contrast on a couple of shots I had to fiddle with the lighting settings. This has made Fawkes look a little dull and lusterless in the WiP shots.
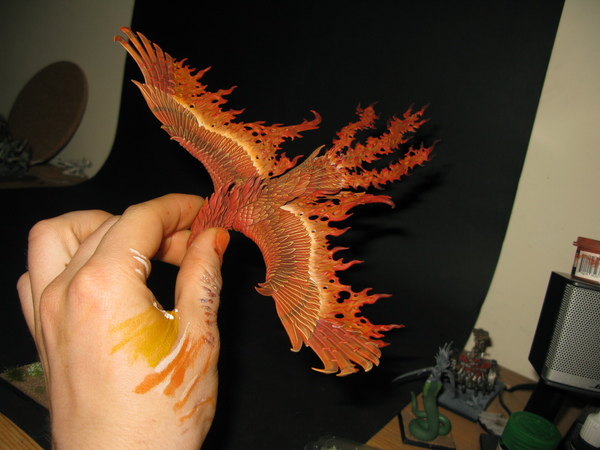
The final shots of the mini are accurate and show it in proper flaming glory, hopefully the WiP ones, when combined with my explanation of their painting steps will suffice for this tutorial!
Secondly I feel I should mention just how enjoyable this kit is to paint, and especially to assemble (I hate assembly!), it responds really really well to drybrushing and to washes. A lot of painted versions I have seen online have just been airbrushed, and look it. In my opinion it is definitely a waste of such beautiful texture not to spend the small amount of time required to do the two finishing steps, they work wonders, and do a lot to add depth!
Thirdly, and finally, I made a couple of cock-ups painting this model which were down to bad colour choices, whilst in a flame-related confusion. It's the first time I've painted 'realistic' flame - highlighting up towards darker colours, so inevitable that some testing was needed.
I've left them in in case it's of any interest - and also so you don't think I've missed a load of steps or something! Lesson learnt on my part.
Ramble over:
Tutorial!
Equipment:
Tools:
Glue -
Revell Contacta
Hobby Knife -
X-Acto
Paints:
Soft Tone Ink
Dark Tone Ink
Matt White
Matt Black
Mephiston Red
Blazing Orange
(now Troll Slayer Orange)
Red Gore
(now Wazdakka Red)
Sunburst Yellow
(now Flash Gitz Yellow)
Iyanden Darksun
(now Averland Sunset)
Hawk Turquoise
Sotek Green
Bloodletter Glaze
Liche Purple
(now Xereus Purple)
Vallejo:
Vallejo Glaze Medium
Unless I say otherwise all of the non drybrush/wash steps in this tutorial were done with the airbrush.
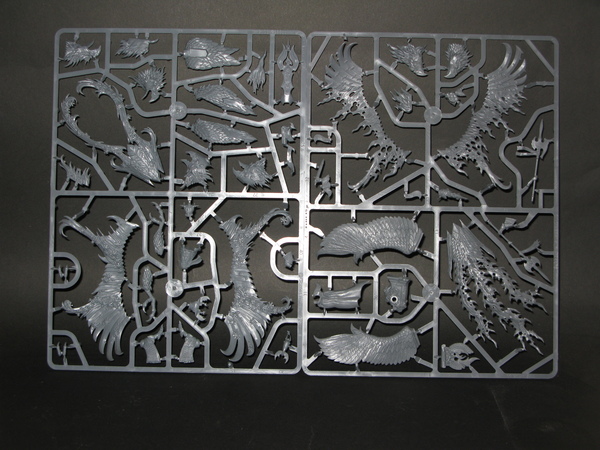
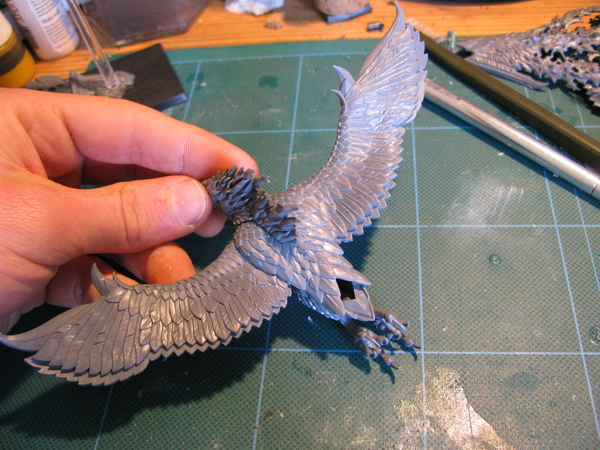
Step 1: Assembly - assemble the entire mini, but only glue the secondary wing parts and tail gently - these should be primed and undercoated together, but for other painting steps it'll really help if they're separate.
**Note as this is one of GW's modern CAD kits the parts fit together
exactly, be careful only to cut the sprue connectors off. Shaving any deeper with your hobby knife may result in little gaps, which're faffy to fill.
Check the bits!
 Step 2
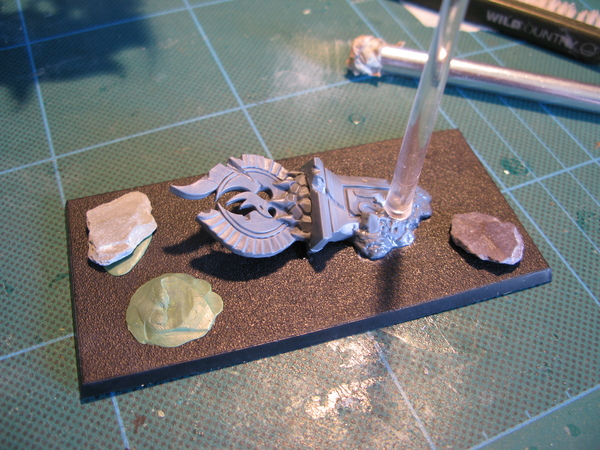
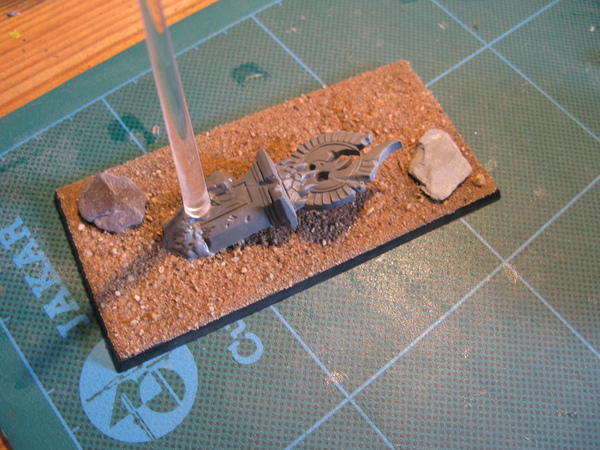
: Basing - While the mini was drying I quickly assembled the base, mixed slate, green stuff and hobby sand did nicely, I kept it fairly simple as I had certain plans for sprucing it up.
As ever I used matt varnish (spray) to seal the sand.
 Step 3
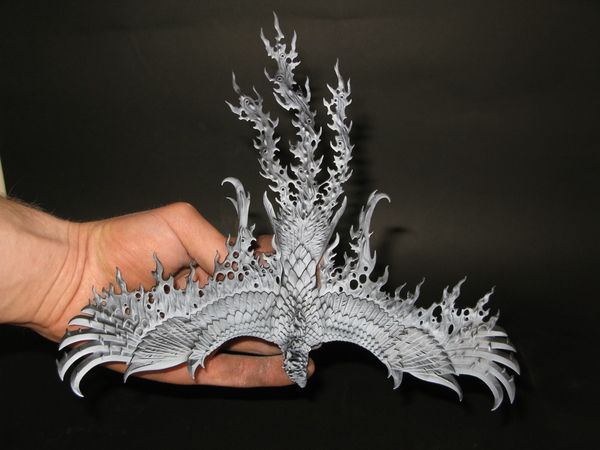
: Priming - Black
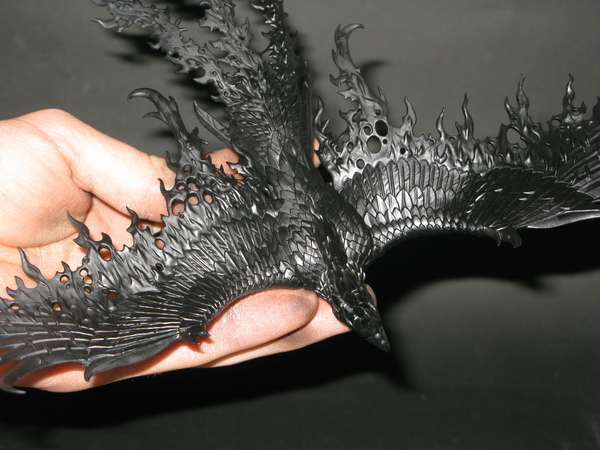 Step 4
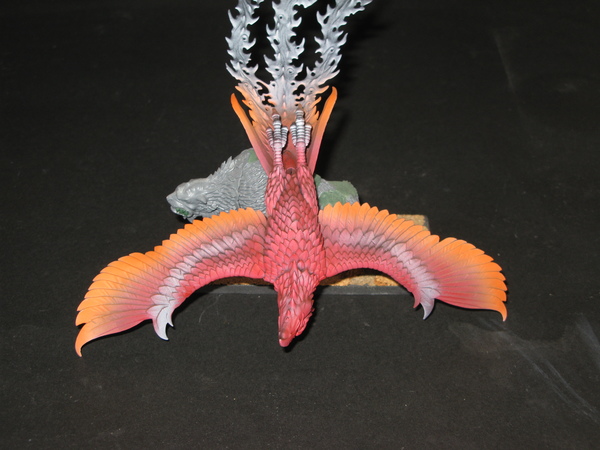
: Preshade/prehighlight - no surprised here, my normal method, the difference here is that rather than going from above I went from in front of the model, to make the most of the feather's texture.
 Step 5
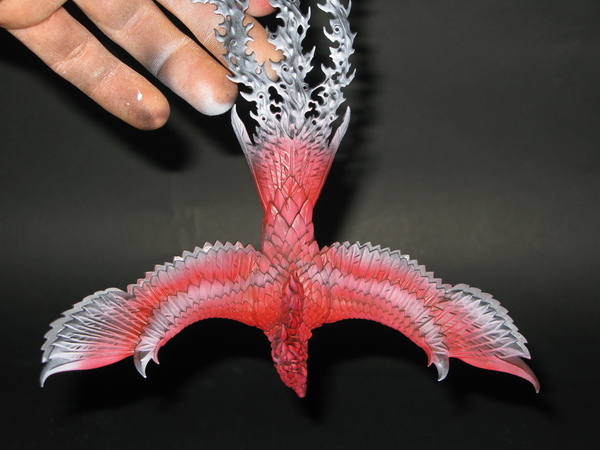
: Feathers, first basecoat - Mephiston red, thinned, and a dot of glaze medium, don't use Khorne red - this is better!
Bits:
 Step 6
: Feathers, second basecoat - (Barry the Mournfang stepped in to help) Previous mix (very small amount, Mephiston red is a wonderfully strong colour) + Blazing Orange
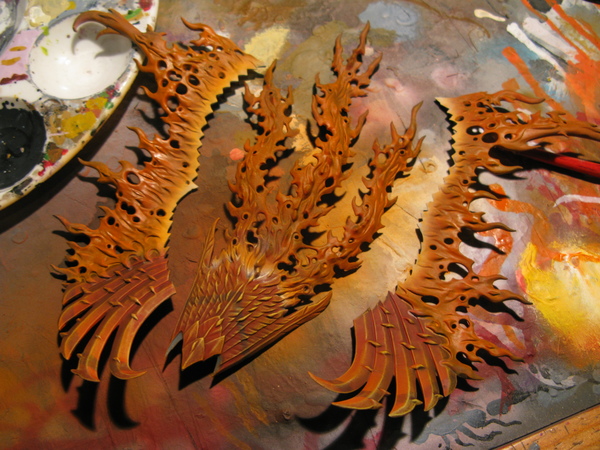
 Step 7
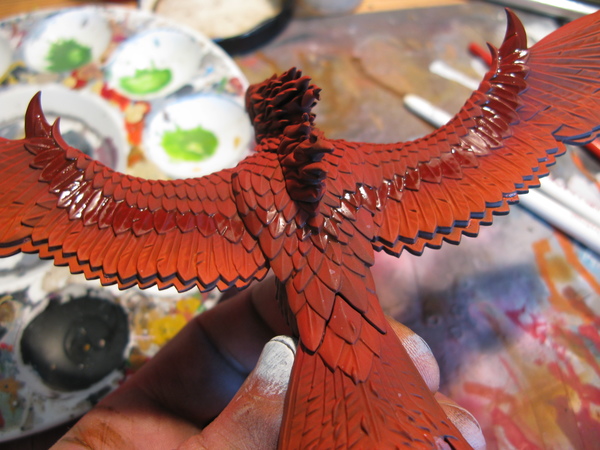
: Feathers, third basecoat - a tad of Mephiston red + Red gore, spray this one carefully as it's a darker colour, don't shoot yourself if you go a little over the edges though, the next couple of stages will render it all but unnoticeable. I also basecoated the flames in this colour because I liked it - this was a mistake which I will cover later.
 Step 8
: WASH!! - As you may be able to tell I like this stage

. Until now Flamespyre Freddy has been looking a bit chalky; we're going to birdbath him back to vibrant beauty! Bloodletter Glaze is the MVP here, it's a beautiful lively red.
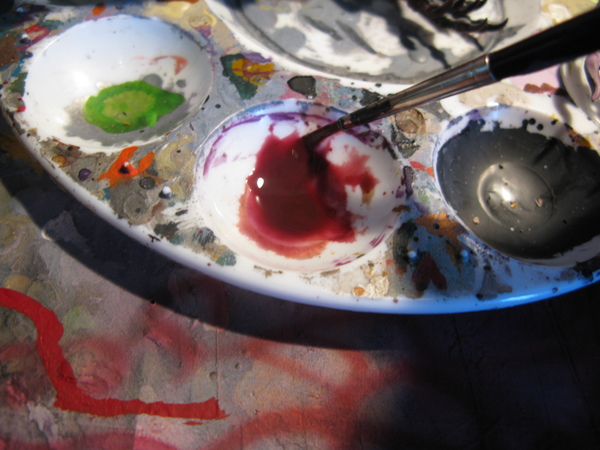
Wash, all over Bloodletter Glaze, Mephiston Red, Soft Tone Ink, Strong tone Ink, Vallejo glaze medium
5:1:2:2:2 (ish)
 Step 9
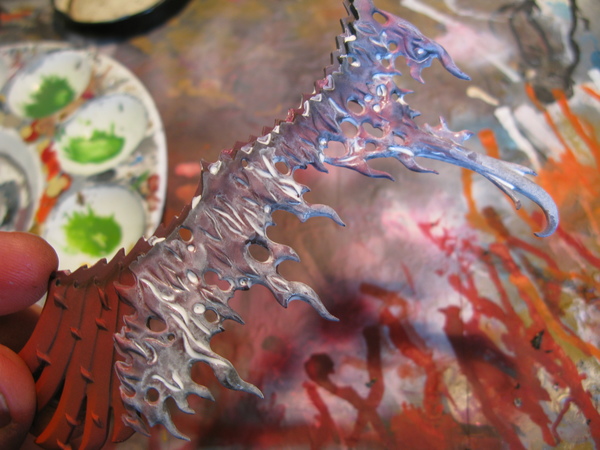
: Flame Undercoat, backwards wash - While the above is drying I mixed Matt White with water and a touch of glaze medium (very thin, lots of water!) and washed it all over. This'll aid the recesses in being brighter to simulate flame, it feels a bit odd though because normally you'd be shading recesses with a wash. Don't worry about being super neat, if you can't help it add more glaze medium, which'll do things more smoothly, but increase drying time.
 Step 10
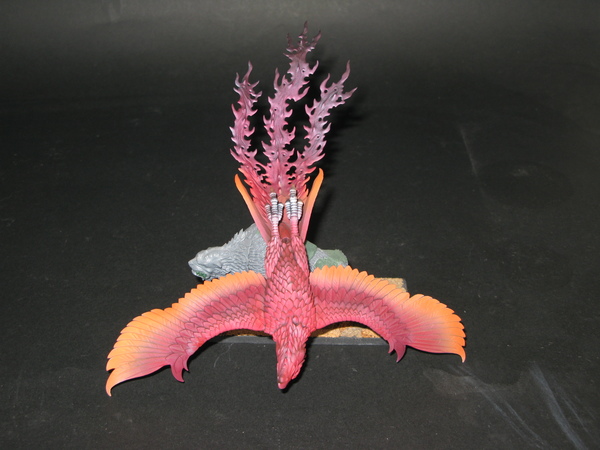
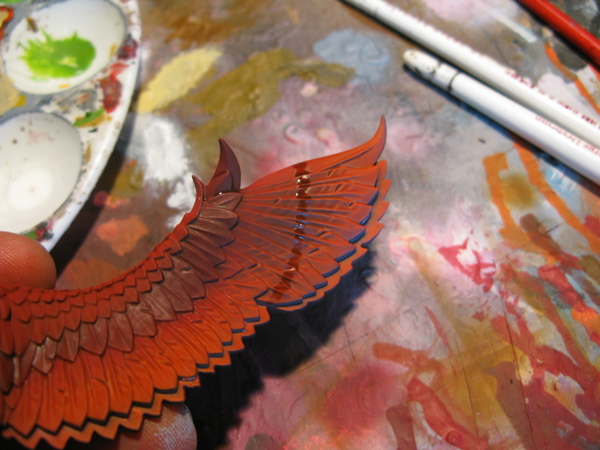
: Second wash - I wasn't happy with the 2nd row of feathers, which I wanted darker, so I added Red Gore to the last wash mix, and a touch of liche purple, and went over the feathers a couple of times to darken them down.
 Step 11
: Detail wash - Using the previous mix with more Red Gore added I carefully sketched out some details on the wings, roughly following GW's scheme. This is a nice way to do freehand if you're worried about screwing it up, as each layer isn't crazy opaque, still take your time and try not to make the mistakes though. For the curves first step I put a dot at the start and finish of the stroke, and one in the middle, and followed them to avoid cocking up.
This took about 5-7 coats, but as there were 5 or 6 places around the model that needed it the first was dry by the time I got to the last to start again, so didn't take long.
 Step 12
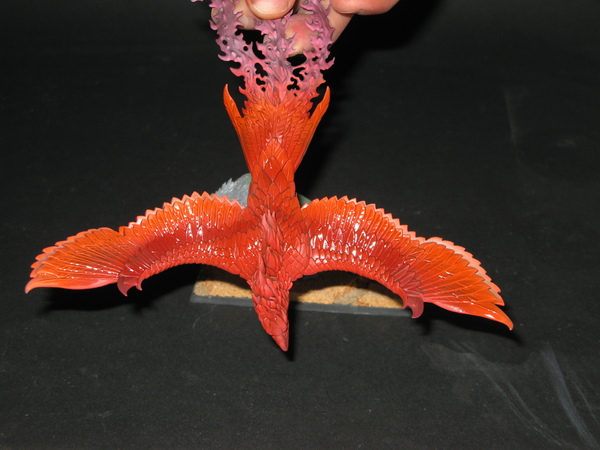
: DRYBRUSH! Blazing orange, all over, take your time, patience will work wonders with this step on these feathers.
 Step 13
 : Second drybrush (highlight) - add Sunburst Yellow to the previous mix, slightly lighter, concentrating more on the tips of the feathers.
 Step 14
: Final drybrush highlight - Matt White added to previous mix, as above but a little lighter. I continued using the same brush to keep coherency, and did a final last step of almost pure white. However the paint held in the brush from the previous steps mixes in, and stops things from looking too brutal.
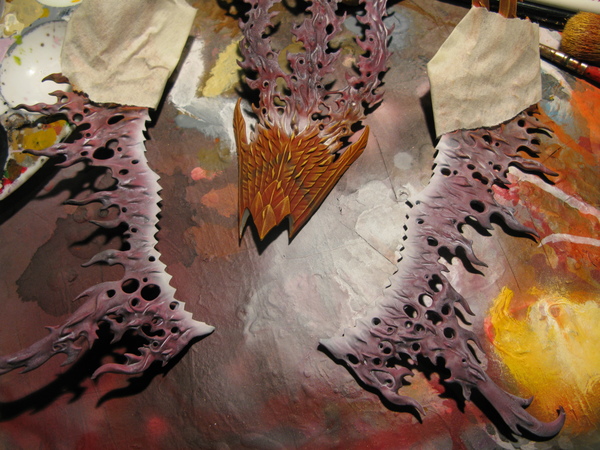
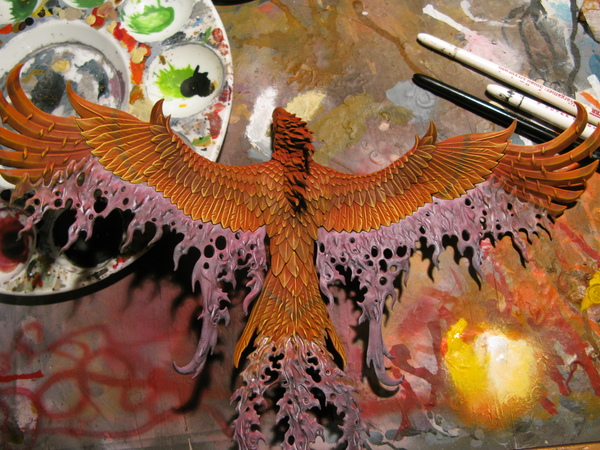 Step 15
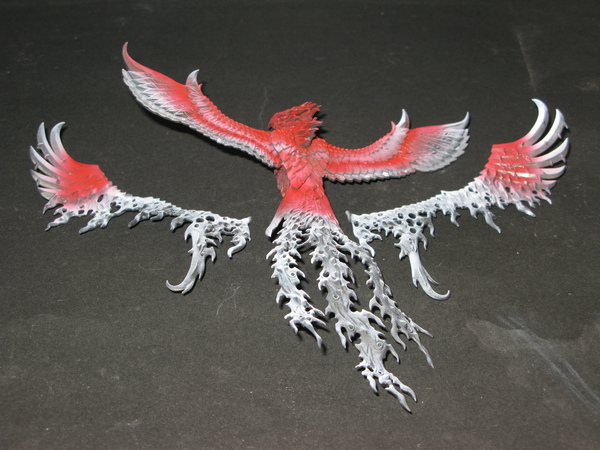
: Flames, pre-highlight - Matt white, at the base of the flames, I roughly masked off any feathers I wanted to keep safe, these steps are why the parts weren't properly glued earlier. Masking of any type but the most basic is a faff, and if you can avoid it I always would
.
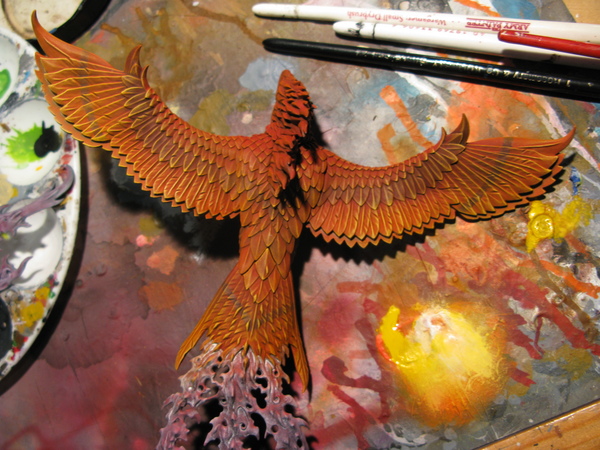
 Step 16
: Flame Basecoat - Blazing orange + a tough of baal red and glaze medium. All over, concentrating on the ends, leave a little white at the start of the flames.
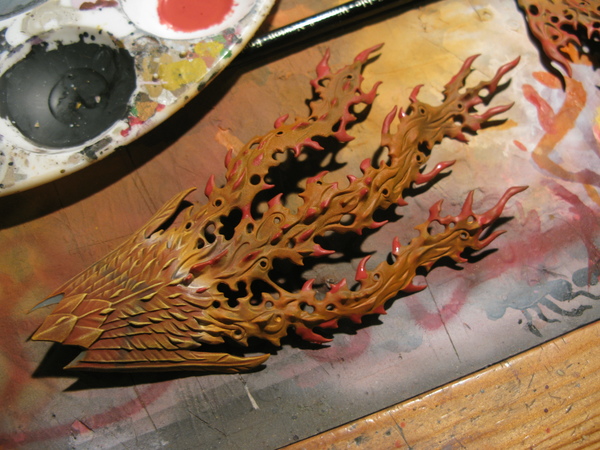
 Step 17
: Flame - First 'Highlight' - Using a brush Mephiston Red, thinned with Soft Tone Ink, on the tips + raised parts, I dotted the ends without being too careful, then added water to the mix and came in to smudge it to a more gentle fade
a)
b)
 Step 18
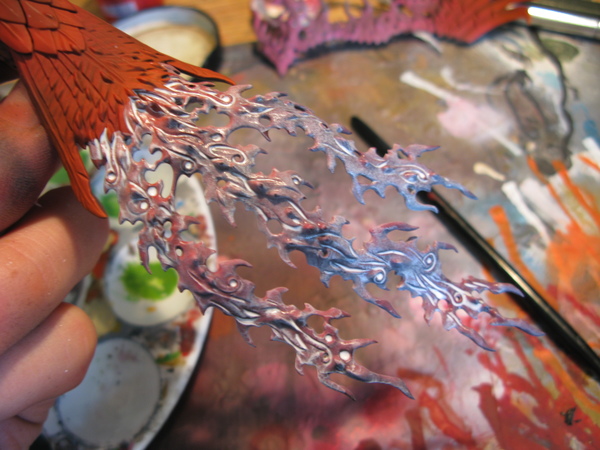
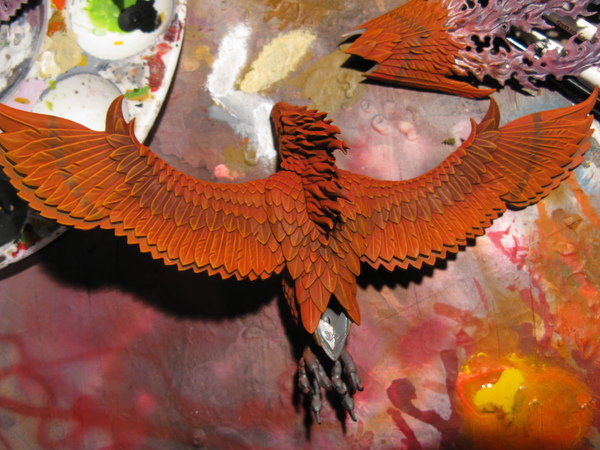
: Flames - second 'Highlight' - I added a small amount of Mournfang Brown and Matt Black to the previous mix, and repeated the step, further towards the ends of the flames, and on tips of raised areas.
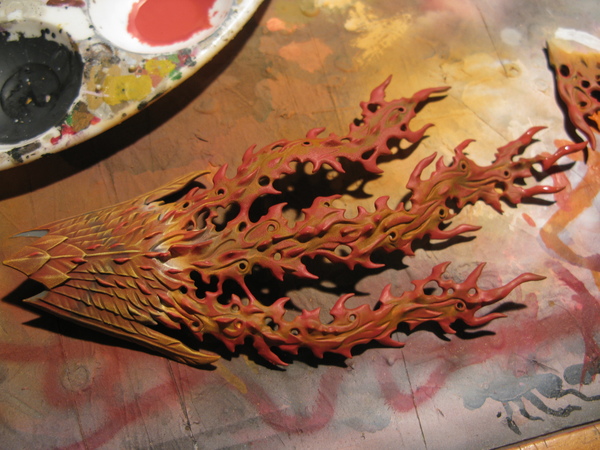
 Step 19
: Realise your mistake... - It was at this point where it dawned on me that the midtone on the flames wasn't bright enough, after a little raging I went over the entire lot with blazing orange and glaze medium.
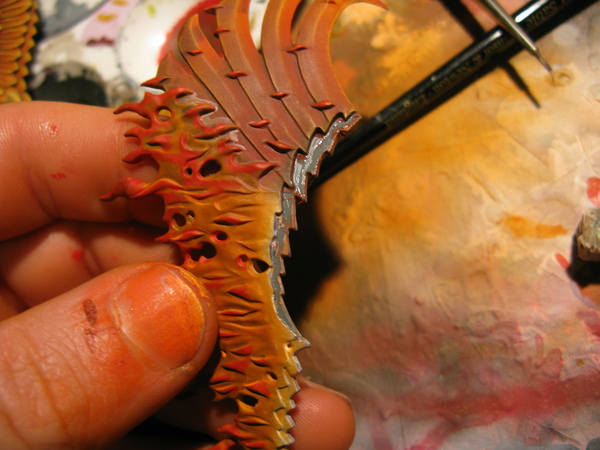
Step 20: Glue the wings back together - I run plastic glue down the areas I want glueing, and scrape it off with a modelling knife.
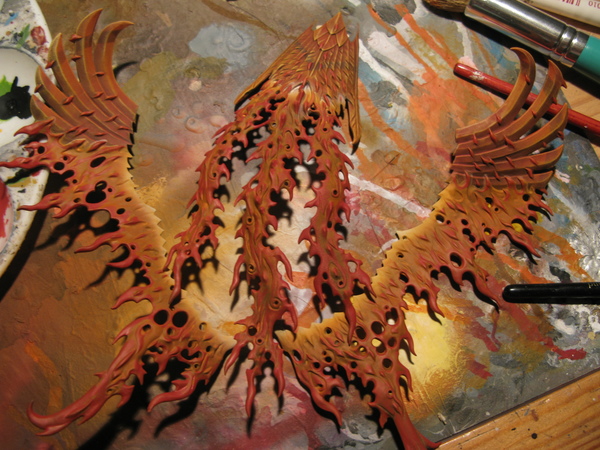
 Step 21
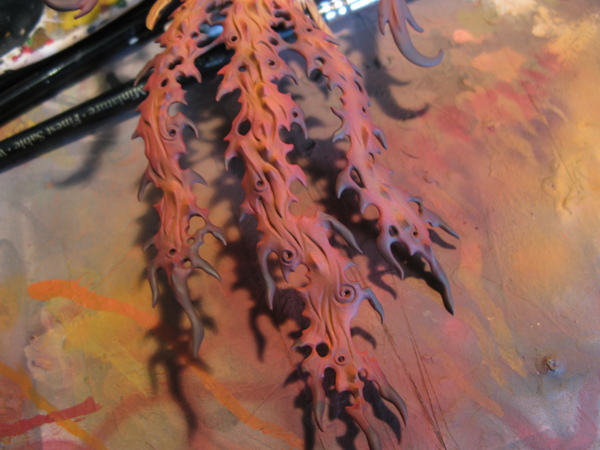
: Painting the smokey ends - I added black to mephiston red (no brown carried through), and thinned it heavily, an then concentrated this on the ends of the flames.
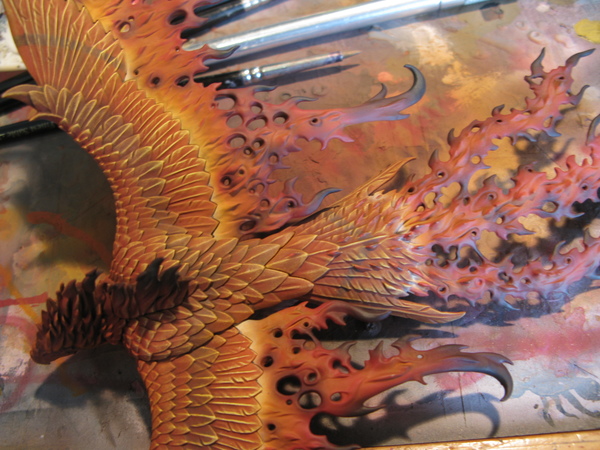
 Step 22
: Pure black+ Details - concentrating on the very tips, I gave my airbrush a little clean, and ensured there was no paint build up on the tip before this stage. Mistakes with black aren't easy to remedy!
Details:
Beak - (brush) undercoat with Iyandien Darksun, spray tip with chaos black, wash with army painter soft tone.
Feet: (brush) undercoat Iyandien Darksun, paint
Claws: Paint matt black
Eyes:
Undercoat - Matt White (ensures bright colours)
Basecoat - Hawk Turquoise
Highlight - Hawk Turquoise + skull white
Done!
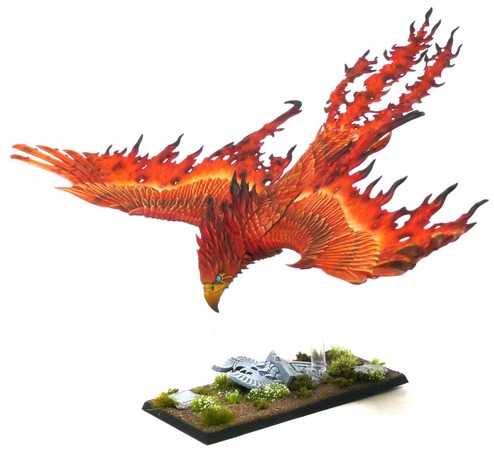
Again, my apologies for the photo quality throughout, they look far more dull and muted than they should do.
What our customers are saying...
Sign up for our newsletter - for the latest news and promotions