How to Make Planking Bases
If you have any questions / comments, please feel free to post on the forum thread for this tutorial.
Har Har me hearties!
Preamble
Hello all, today I have been mostly making wood-effect/planking bases, this is super fast, super cheap, and actually a fair bit of fun. You can make things as simple or as complex as you like, as the main material we shall be using is a modellers dream, and has been a staple of the hobbyist since way back when.
We are talking about this:

Or in a more palatable form this:

Balsa wood, which has the pluses of being;
Light
Super Porous (we'll return to this, it's brilliant)
Easily Cut
Easily Sanded
Easily Glued
Easily Drilled
Cheap
The downside of it is fairly obvious:
Weak as a kitten
However this can be easily fixed at the priming stage.
Tutorial
Equipment
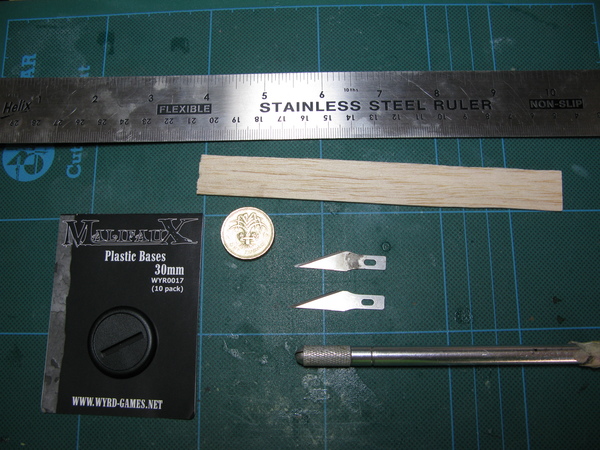
-
Hobby Knife
-
Balsa Wood
-Ruler (metal ideally)
-Bases of your choice, I'm using
Wyrd's round-shouldered ones
Not Pictured:
Glue of your choice, I prefer runny super-glue
Putty of your choice, I prefer
green stuff.
A note on working with balsa
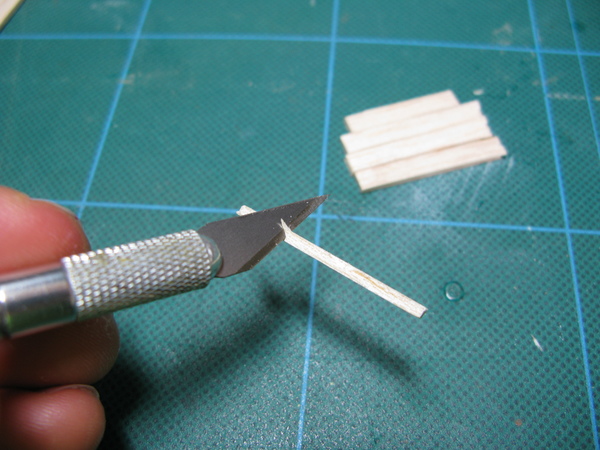
Finally before we crack on a note about cutting balsa wood, pictured below is my normal x-acto blade (top), which I use for removing mould lines and general scraping, and the blade you want to be using on balsa wood, sunday best only for this task! Swap out your ol' reliable for a shiny new blade.
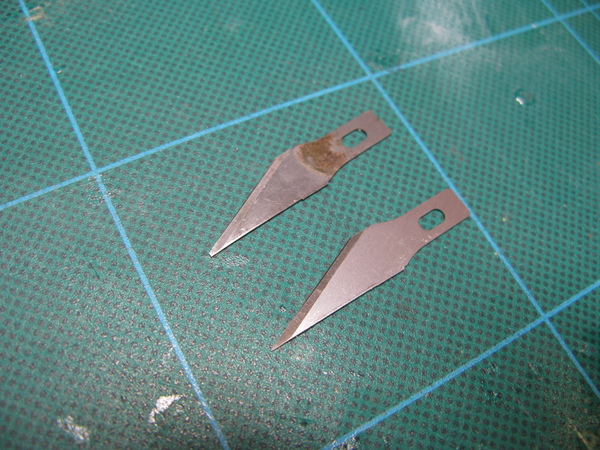
Balsa wood cuts along the grain beautifully, but if you're cutting across it you
need something sharp to both make your life easier, and to ensure a clean cut.
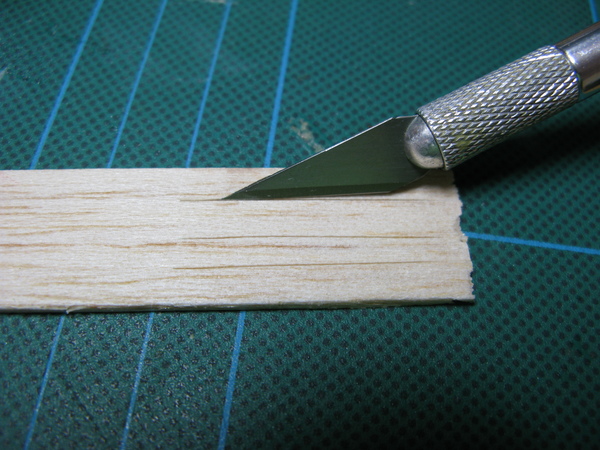
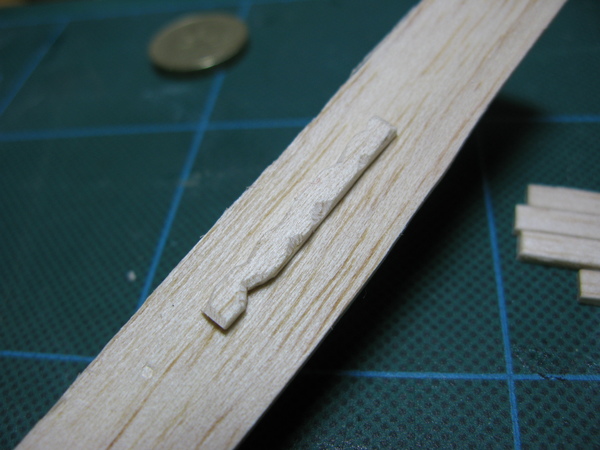
What is more thin balsa wood will cut very well being
pressed, rather than dragging the knife down and across, especially if you're crossing the grain, dragging the knife may result in this:

If you have to be dragging the knife, if you're following a ruler etc, a couple of more gentle preliminary cuts and then a final firm cut should lessen the likelihood of the above.
For a change I've rambled, let us crack on:
Step 1: Cutting planks 1:
The size here is up to you, big and broad looks a little more industrial, where as smaller ones look more neat and less large-scale.
Step 2: Cutting Planks 2:
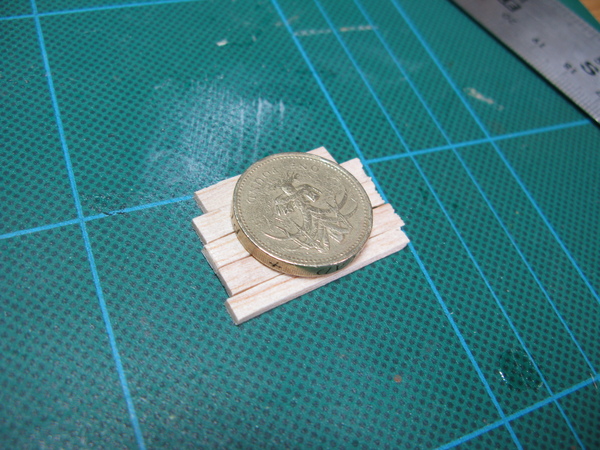
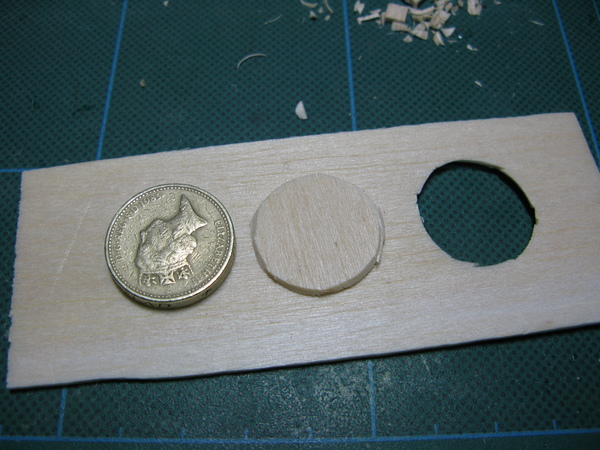
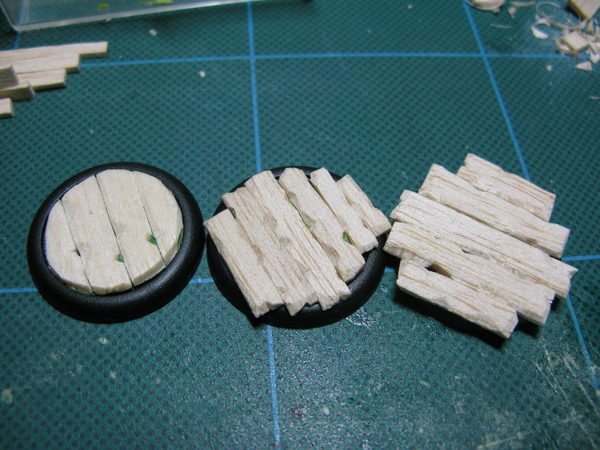
If you're using normal bases you can use them as a guide, for round shouldered it's harder to judge (especially if you're making an insert, rather than sitting them on top.
I used a pound coin to match the 30mm size, it is also the stencil I cut around to make the insert that you can see at the end:
 Step 3:
 Detailing your planks:
This is where the super-sharp blade comes in useful, using a careful sawing motion you can take incredibly precise sections out of the balsa. You may also want to cut along the edges of the top-side of your planks, depending on whether you're looking to remove sharp clean edges or not.
Once done:
 Step 4:
 Fixing your Planks:
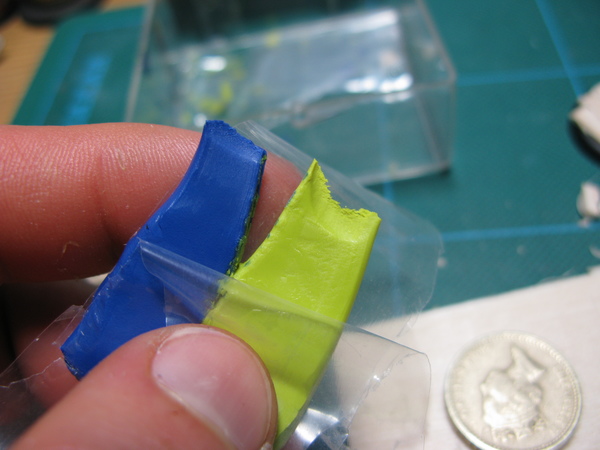
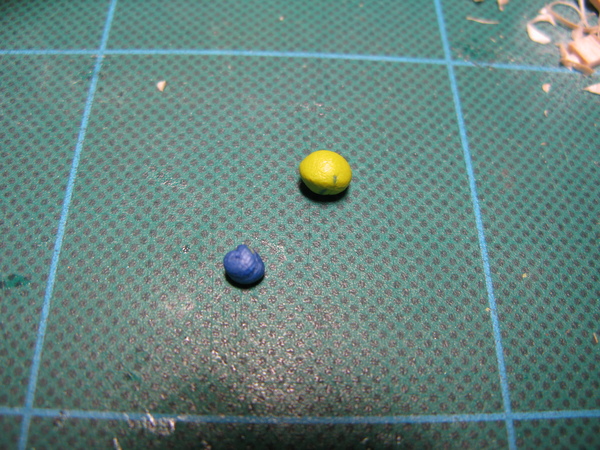
You've got a couple of options here, you could just PVA or Super Glue them to the top of flat bases, I prefer to use a bit of putty to ensure a solid bond though. In this case Green Stuff, but rather than the normal 50/50mix I go for 2:1 Yellow:Blue, as it's super sticky, and also soft.
 Construction Done!
Cut off any excess putty that's been squeezed out the edges and you're ready for priming and painting.
What our customers are saying...
Sign up for our newsletter - for the latest news and promotions