How to Paint Skullcrushers of Khorne
If you have any questions / comments, please feel free to post on the forum thread for this tutorial.
Hi guys, this is to be half tutorial half review, so if you're not interested in me getting het up and bemoaning an extremely stupid design fault in a petulant fashion scroll down a bit until you see tutorial written in capitals

.
So, given that I usually come across as a bit of a fan boy of the GW plastics what could they possibly have done to annoy me this much? I'll list a couple of the good points first:
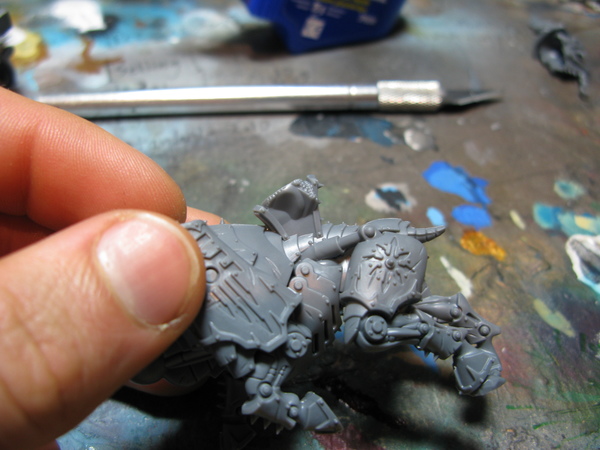
- The models are plastic
- The seal lines are brilliantly placed and minimal, up to GW's usual high standards
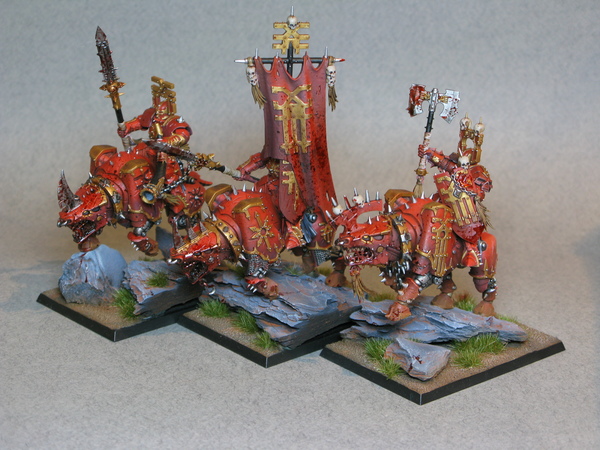
- The models are pretty good to paint, red stuff, trim and details, and they haven't gone overboard on the details, each of these guys doesn't have an orienteering kit, half a library, 10 egg-timers and a carriage clock dangling off his waist. Skulls and chains, nice and simple!
- The models don't look as static as they could have, the mounts' poses are varied.
- The arms are ball and socket joins, yay pose-able!
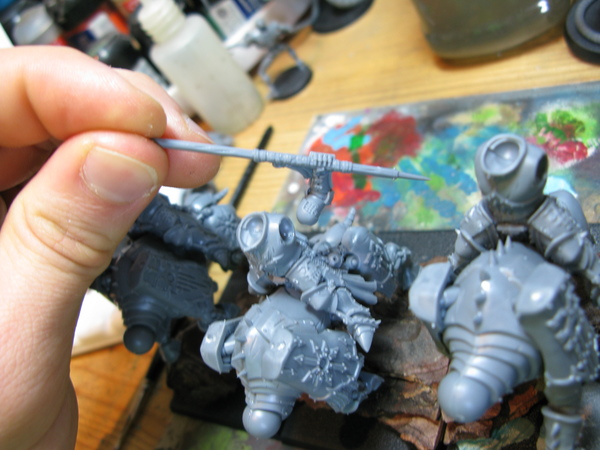
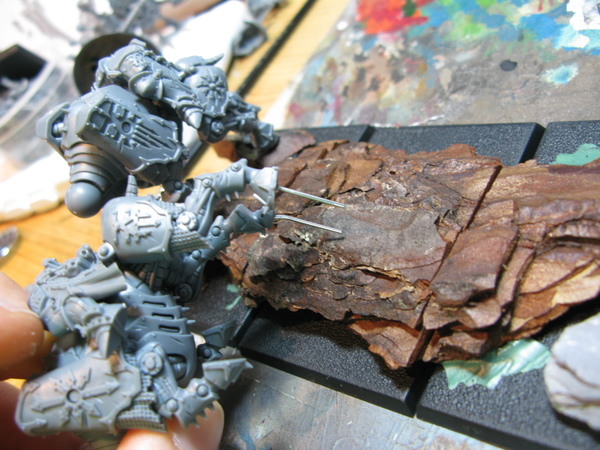
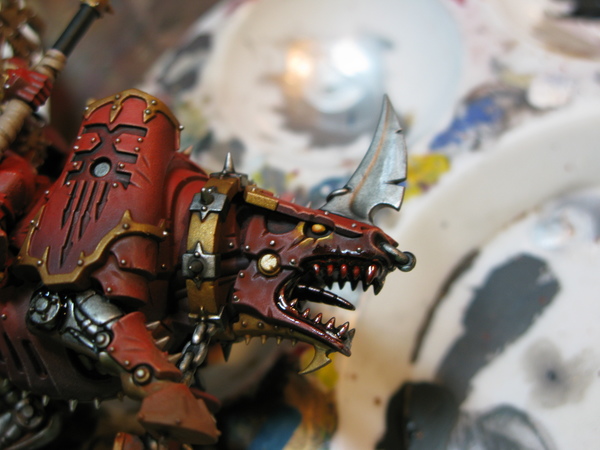
All of that's well and good- where did they cock up to get my knickers this twisted? Well, in a word (/picture) this:
WHY ON EARTH WOULD YOU DO THAT!?
Seriously, why? In one fell swoop they have ruined fast converting opportunities, both for the riders and the mounts, what is more, there's cheaper juggers around from the daemon army, that don't have this idiocy, so if you're wanting to fiddle around just buy one of those.. But if you're a warriors player and you thought you'd get the kits to use the riders elsewhere and put your heroes on juggers this makes it far more faffy, and for no good reason.
If it wasn't GW I'd be singing the praises of this kit, but they are leading the industry with the quality of their plastics, and this kit just comes across as half-arsed.
Tutorial
Rant over, here's how I went about painting them.
For this tutorial I used:
Games Workshop:
Liche Purple
Xereus Purple
Bestial Brown
Mournfang Brown
Shining Gold
Gehenna's Gold
Mechrite Red
Mephiston Red
Blazing Orange
Troll Slayer Orange
Sunburst Yellow
Flash Gitz Yellow
Army Painter:
Dark Tone Ink
Soft Tone Ink
Matt White
Matt Black
Plate Mail Metal
Skeleton Bone
The Army Painter 'Base Primer - Matt Black'
The Army Painter 'Base Primer - Anti-Shine, Matt Varnish'
Vallejo:
Codex Grey:
Vallejo Cold Grey
Vallejo Glaze Medium
Games Workshop:
Skull White Primer Spray
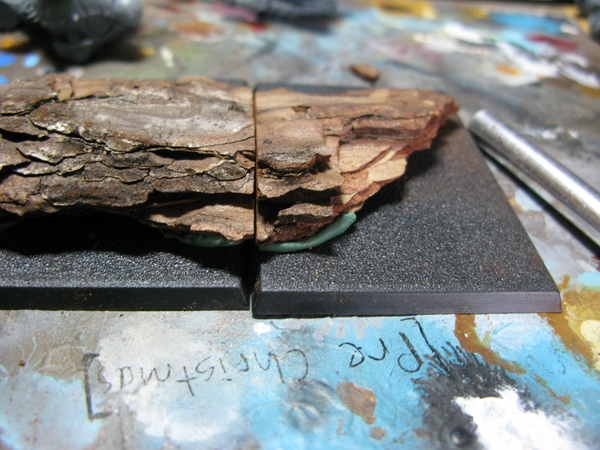
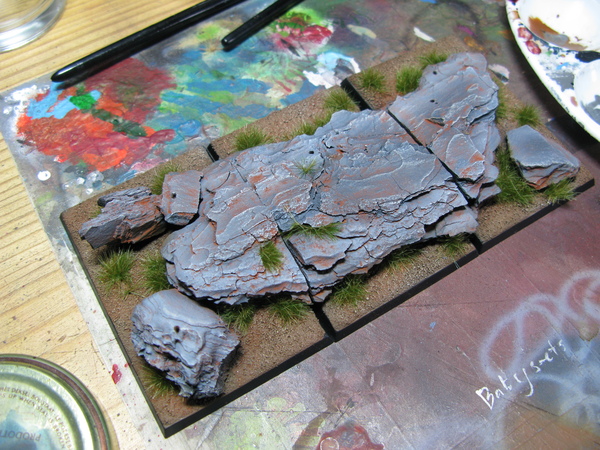
Step 1 Basing: I used pine bark, pressed into a green stuff foundation, I made sure the green stuff was very warm, when using it for stuff like this the more yellow the better as it's sticky, and will make it more malleable. The pine bark was then carefully cut between bases with a junior Hacksaw.
 Step 2
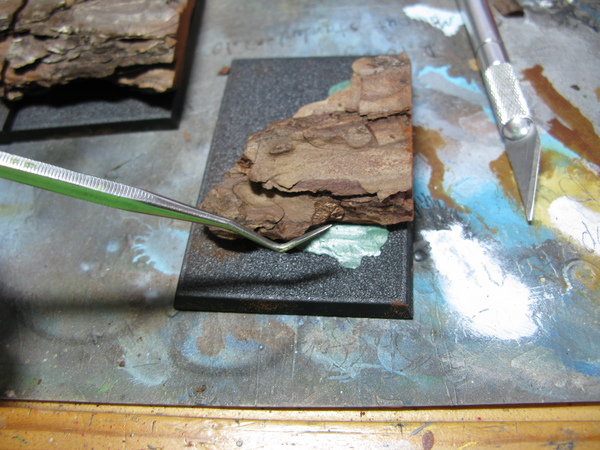
 Basing: Smooth out any particularly 'lumpy' looking bits of GS, this'll just give the ground some variety, if you've mixed up too much blob it around on the flat of the bases for the same reason. I used a sculpting tool, there's no need to worry about being particularly neat, this will all get covered with sand anyway.
 Step 3
 I pinned the models to the bases (but didn't glue them) - see my
How to Pin Models tutorial for more info.
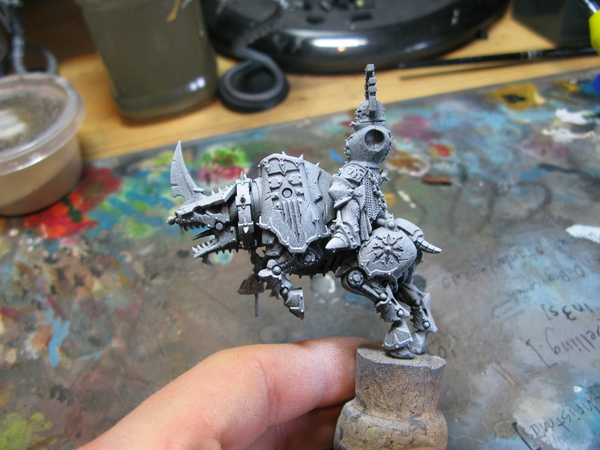
 Step 4
 Preshading: the normal drill, spray your models black all over, then 'dust' them with white from above.
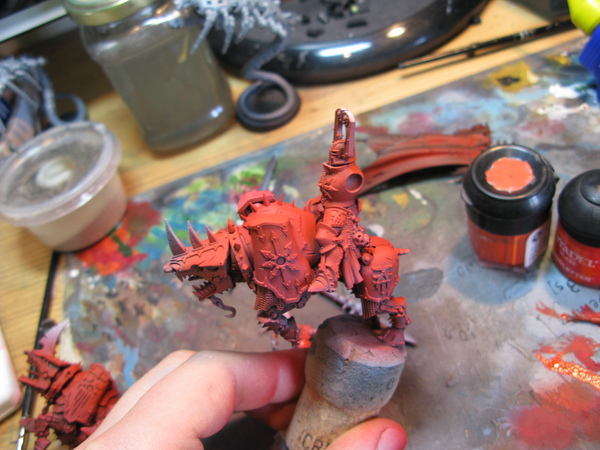
 Step 5
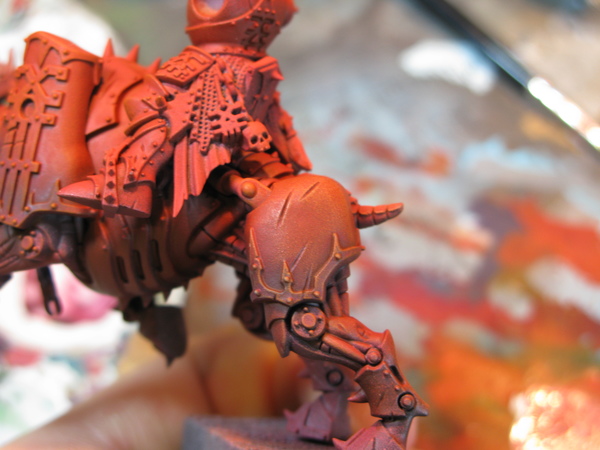
 Basecoating: Mephiston red from below and horizontal with the airbrush
 Step 6
 Highlight: Mephiston Red+ Any bright Orange from above, I used blazing orange.
 Step 7
 Drybrushing! (If you've followed any of my tutorials in the past you probably saw this coming
) All over, blazing orange + white, don't worry if it looks too harsh, we'll glaze it all right down anyway! I went for more white around the front of the model to pull attention.
 Step 8
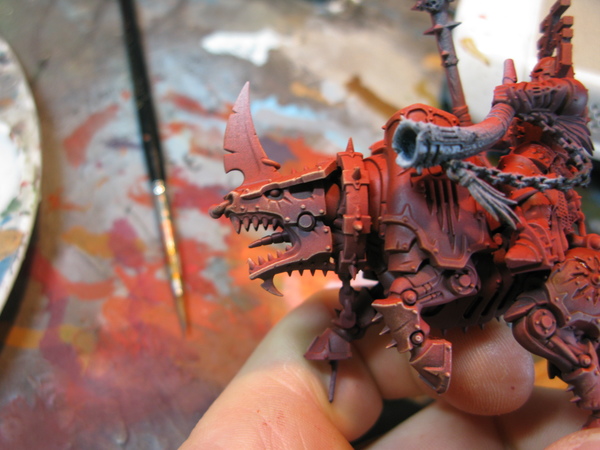
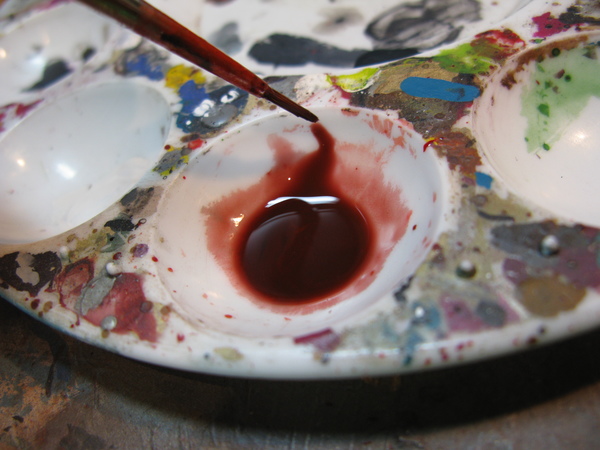
 GLAZES! I used the GW Bloodletter glaze, all over the jugger, mixed with the fantastic army painter inks in this case it was:
Bloodletter Glaze:Dark Tone Ink:Soft Tone Ink 5:3:2 ***For a more advanced/time consuming take on this check the end of the post.
The riders I wanted a bit brighter, so they got Bloodletter:Soft tone 4:1
I don't usually shake my paints but you definitely need to shake or stir these glazes! The pigments rest in the bottom.
 Step 9
 Fill in detailed recesses: I used dark tone ink:bloodletter glaze 5:2 These detailsare great for getting a bit of coherent contrast in.
 Step 10
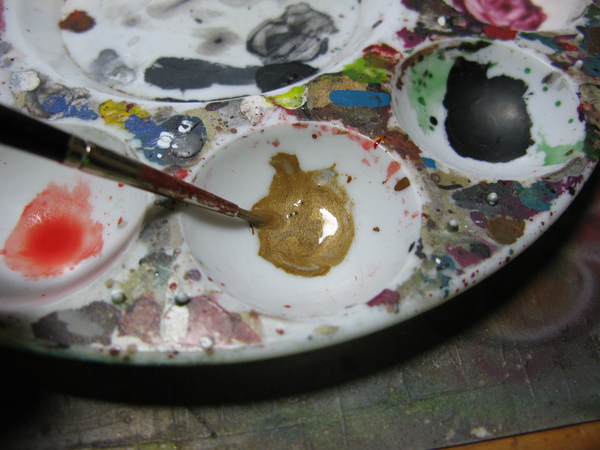
 BRONZE! Normally I'd use vallejo liquid metallics for this, but I don't find they're quite good enough for detail, so I mixed up my own batch of one-coat gold/bronze, using a bright brown base paint to ensure coverage, and silver for the same reason.
Mournfang Brown:Shining Gold:Plate mail Metal
2:5:1
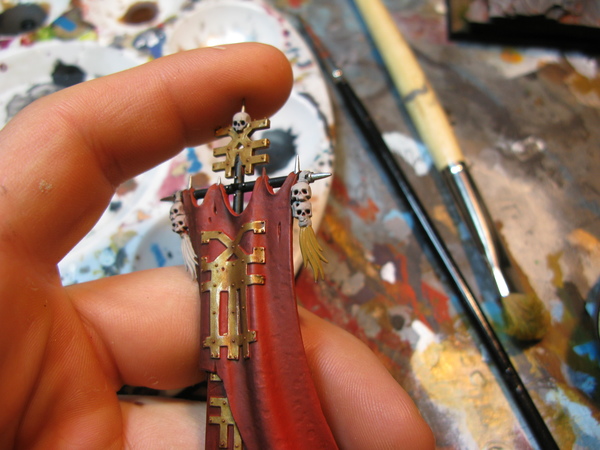
 Step 11
 Silver bits: undercoated black and then picked out with plate mail metal, in retrospect rather than picking out details I could have just saved myself a lot of time by painting the silver all over, and then washing them black - the 'Eavy Metal paint job was taunting me!
(apologies for the bad picture)
 Step 12
 Washes:Dark Tone ink over the silver and Mournfang brown:Soft tone ink 1:6 over the bronze parts
 Step 13
Details: There's a few little finishing details on these models, which were done as follows
Skulls: Dheneb Stone, washed soft tone ink
Ropey bits: Skeleton Bone: mournfang brown 1:1, washed with dark tone ink.
Strapping on weapons: Skeleton bone+Dheneb Stone, washes 1:1 Dark+Soft tone inks
Brown pigments mixed with water left on feet to dry, excess brushed off.
Eyes: 5 highlights from Blazing Orange to Sunburst yellow to Dead white.
 Step 14
 Bases:
1.) I sealed the sand to the bases (and added a bit of durability to the bark) by spraying the bases with 2 heavy coats of Army painter varnish.
2.) Undercoat Army painter Matt Black Spray
3.) Sand Mournfang Brown = Drybrush with mournfang brown + skeleton bone, final highlight pure skeleton bone
4.) Rocks Undercoated Cold Grey + Matt black, drubrush cold grey, drybrush highlight cold grey + dead white, final super light drybrush skull white.
5.) Very thinned down pigments all over, about 1:10ratio with water.
6.) Swamp tufts to seal the deal.
 Step 15
 Paint your base rims black, let the pigments dry, finally
Blood: Tamiya clear red, please see my Gore + Stringy Gore tutorials for how I did this.
How to Paint Stringy Gore/Blood
How to Paint Gore/Blood
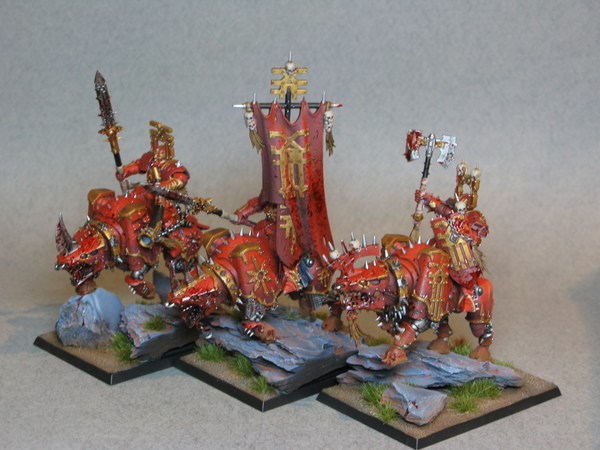
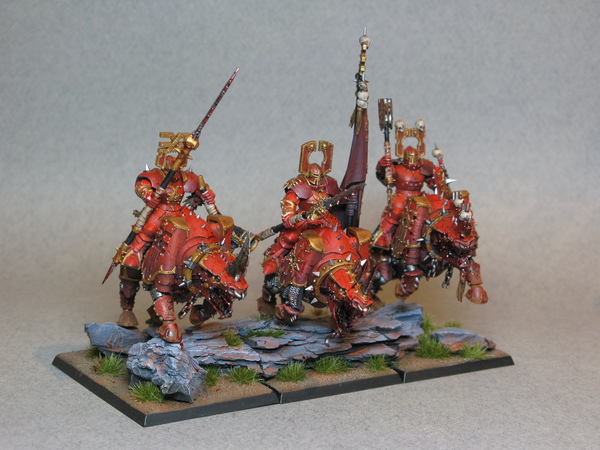
...and you're done!
***
I experimented with something I've not done before on these models, which is a kind of modulated wash, I used Dark tone in the mix low down, strong tone in the middle, and soft higher up, this is something I really enjoyed and I'm going to fiddle with for tutorials in the future before writing up properly. Basically I don't quite understand how to use it properly myself, and was playing around, with no idea whether it'd work or not

Any questions or queries please let me know!
What our customers are saying...
Sign up for our newsletter - for the latest news and promotions