How to paint a Skyshield Landing Pad / Large Scale Metallics
If you have any questions / comments, please feel free to post on the forum thread for this tutorial.
Hi again guys 'n' gals, I recently had a blast painting a
Skyshield Landing Pad kit. This particular one had been converted to be Necrony by the ever prolific Bobo/Isaac Alexander for me.
I absolutely love doing scenery - you get out the big brushes, and then drybrush and wash with abandon, you don't need to be so precise, and generally things will work out fine. It's always a nice break from those teeny tiny toy soldiers!
I used an airbrush for a couple of stages of this tutorial, at each stage I'll pop in a **'d note on how I'd go about things without one, generally it'll involve some careful drybrushing. For the first 3 steps I think the dual spray can method may actually be preferable, I was just out of black spray!
This tutorial marries quite nicely with the
How to Speed Paint Necron Infantry tutorial I did a while back, as it shares a number of techniques. Enough of my normal preamble though, let us get to the nitty gritty:
Equipment:
Skyshield Landing Pad
Paints:
Ice Blue
Lothlern Blue
Hawk Turquoise
Sotek Green
Matt White
Matt Black
Codex Grey:
Vallejo Cold Grey
Skull White (Dead White)
Dead White
Plate Mail Metal
Liquid Metallic: Old Gold
Sprays:
The Army Painter 'Plate Mail Metal'
The Army Painter 'Base Primer - Matt Black'
Other:
Vallejo Glaze Medium
Red Brick Pigment
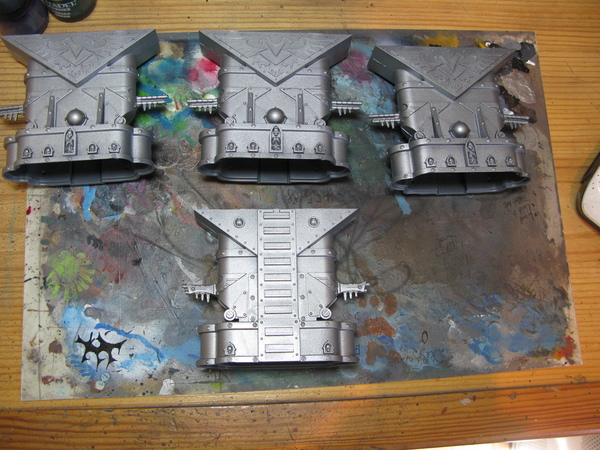
Step 1 Using the excellent Army Painter 'Plate Mail Metal' spray - a staple of any necron army undercoat your model.
**Non airbrush - undercoat with black spray, make sure you get in all the nooks and crannies.
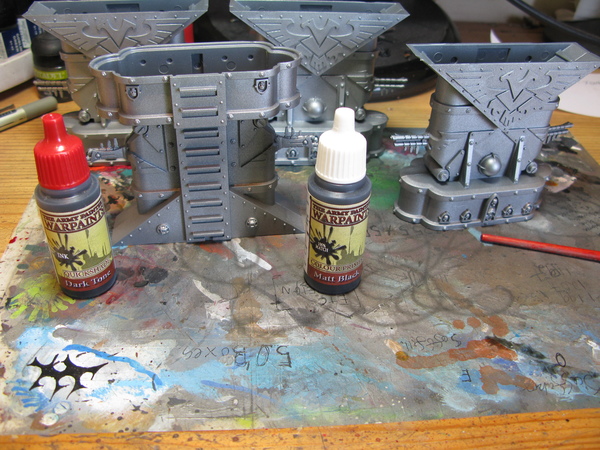
 Step 2
 Mixing Matt Black and Dark Tone Ink shade the recessed areas, and the underside sections of the models, if in doubt hold the piece under a lap and copy the shadows. This stage does not need to be precise or neat!
**Spray 'Plate Mail metal' from 45degrees above the model, this will give you fast, natural shadows where the black is.
 Step 3
 Follow the joins between panels on top of the landing pad, again this step is not about being neat, the next will hide any major slips.
**Using Grey+black drybrush or stipple these joins lightly, you're just looking for shading, as above mistakes aren't a big issue.
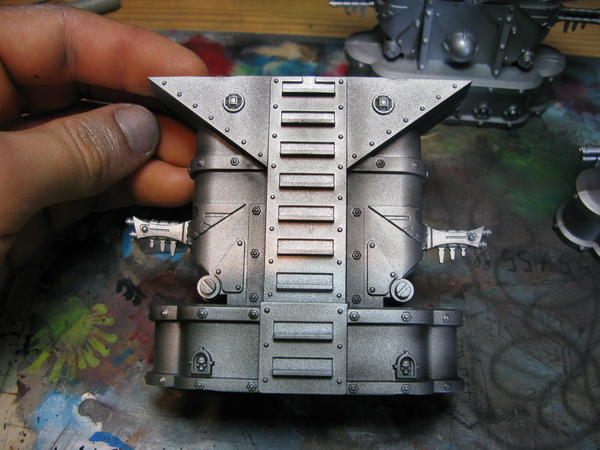
 Step 4
 Lightly spray silver on the parts, with the legs from 45degrees, on the main flat areas from above, keep it light, you don't want to obscure your work on the joins, just smooth our the transitions.
**The above
(bottom 2 have been sprayed over)
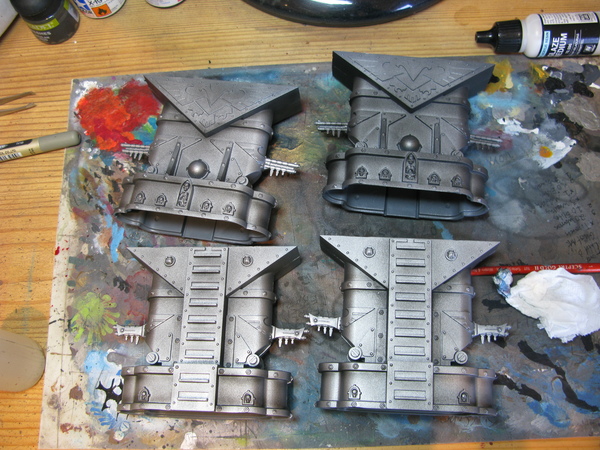
 Step 5
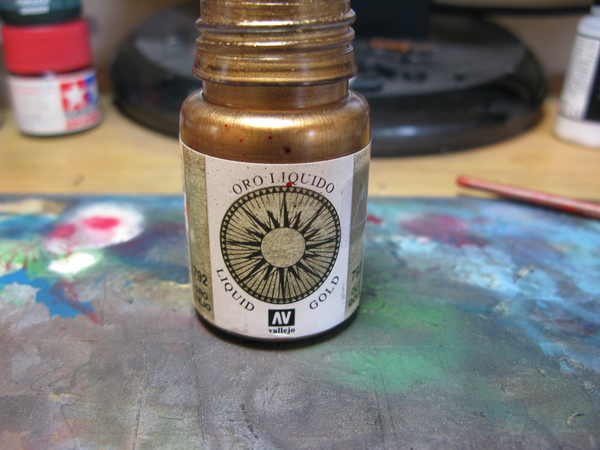
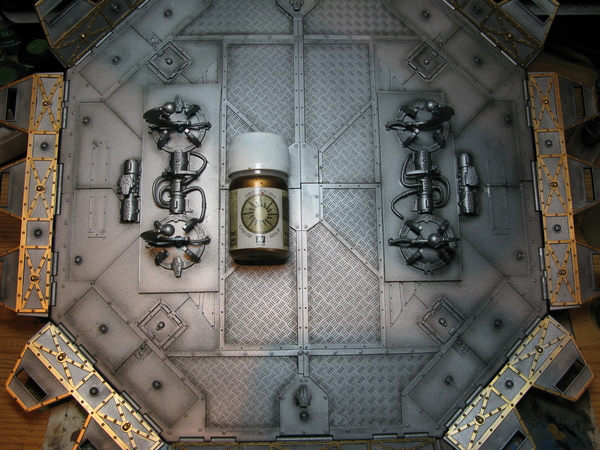
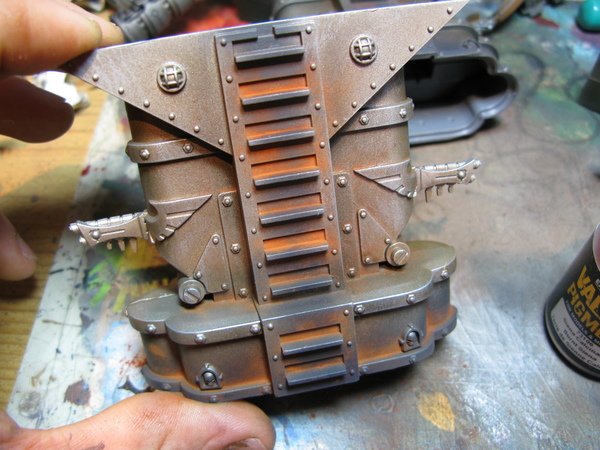
 LIQUID GOLD!
If you've read any of the other tutorials on the site, or anything I've ever written before you've probably seen me repping this stuff. It's magic, shake well, leave it to settle a little, and only use alcohol (gin as usual) to rinse your brushes when using it. It will give you 1 or 2 coat coverage, even over sprayed silver. Pick out your details.
 Step 6
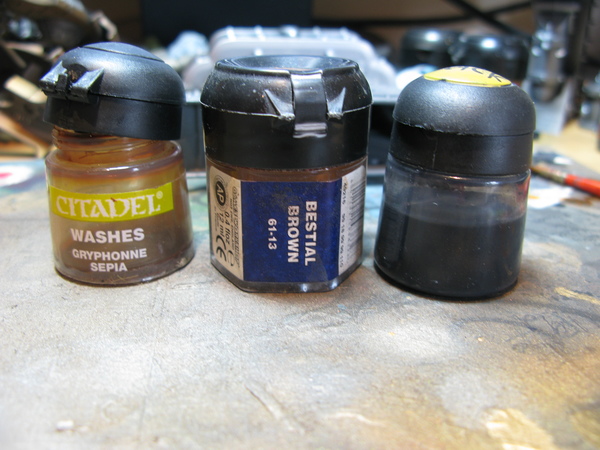
 WASH TIME! My favourite steps are this and the next, you get results very fast, and the entire piece is homogenised. Since running out of Gryphonne Sepia I have started using TAP 'Soft Tone Ink' as I much prefer it to the new GW sepia wash. Wash or spray this all over, you will need a lot, but it's worth it for the speed and the effect.
Sepia:Bestial Brown:Black:Glaze medium
8:0.5:2:2
 Step 7
 Drybrushing:
Using the paint 'Plate Mail Metal' I drybrushed the entire thing. This'll pick out edges, rivets, and generally do your work for you, at lightning speed. As usual I used a soft makeup brush.
Before:
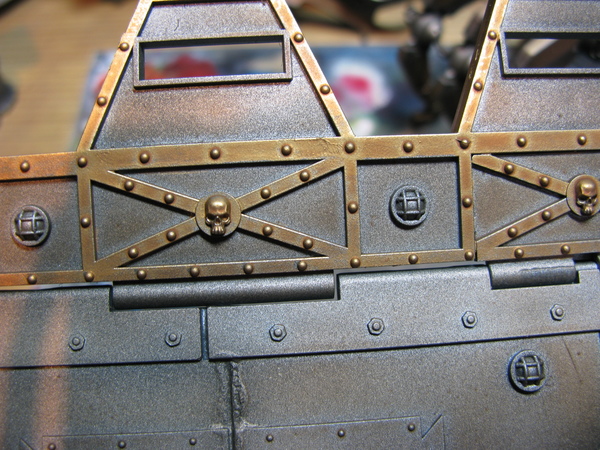
After:
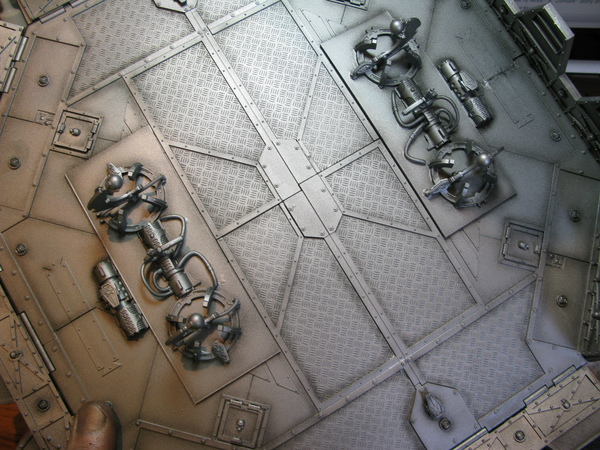
 Step 8
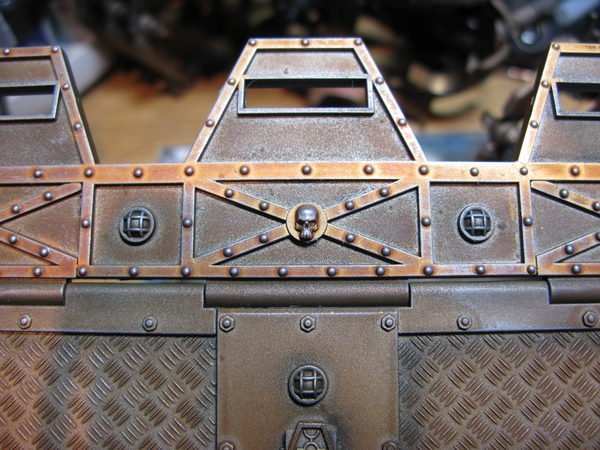
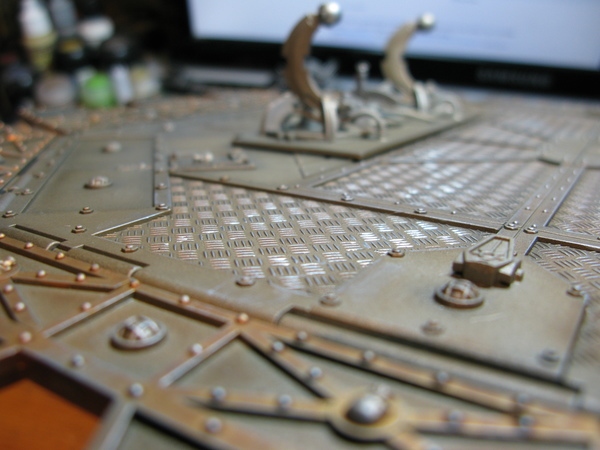
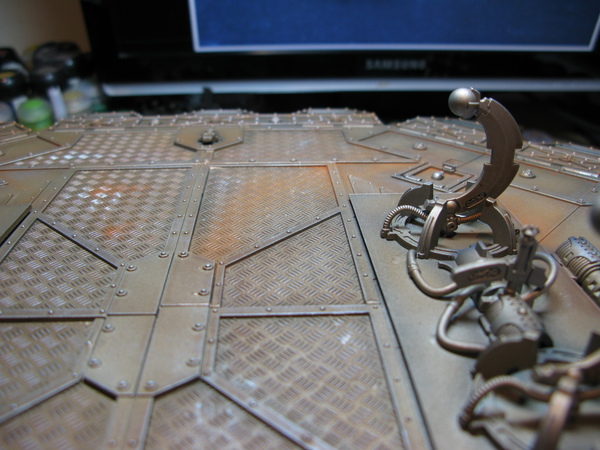
 Fingerpainting...?
You heard, for this texture finger painting is perfect. Put a blob of plate ail metal on your pallet, dip your finger in, wipe of the excess and then 'wipe' your finger over the surface, it'll pick out the detail wonderfully. Be careful to only use it on the criss-cross textures sections, as on flat areas it'll look smeary.
Apologies for the photos, it's hard to show the final effect on camera.
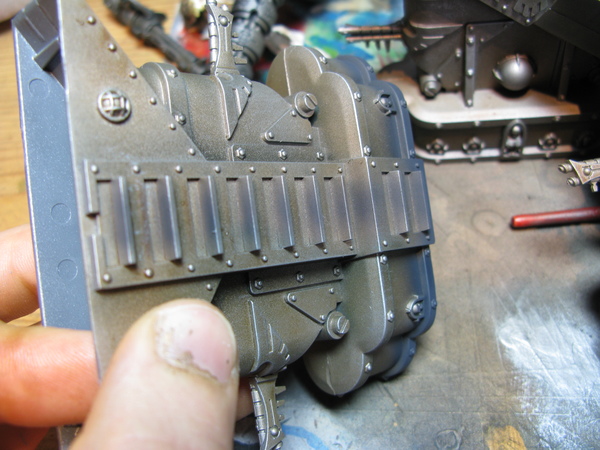
 Step 9
Mixing Gray and black about 50/50 I sprayed the bottom of the legs, and lightly on the steps to give the impression of use.
**Drybrush these like the panel step
 Step 10
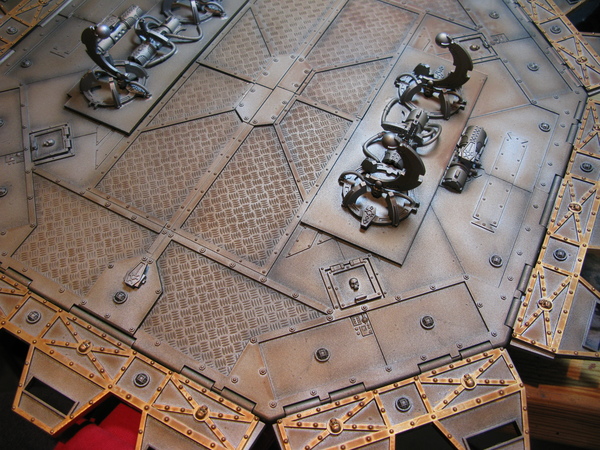
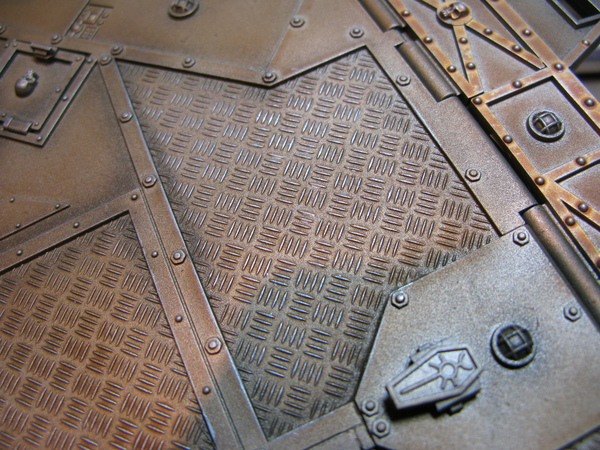
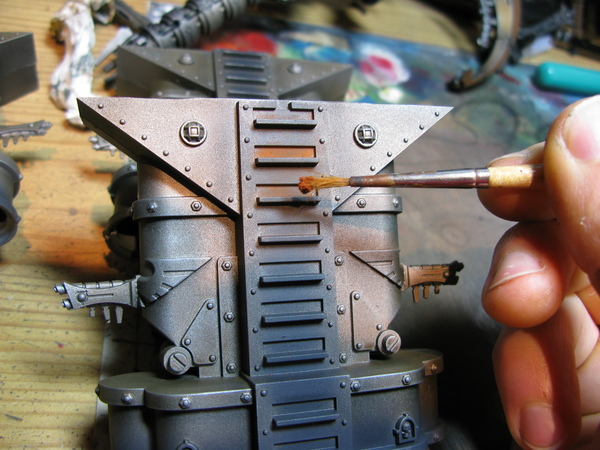
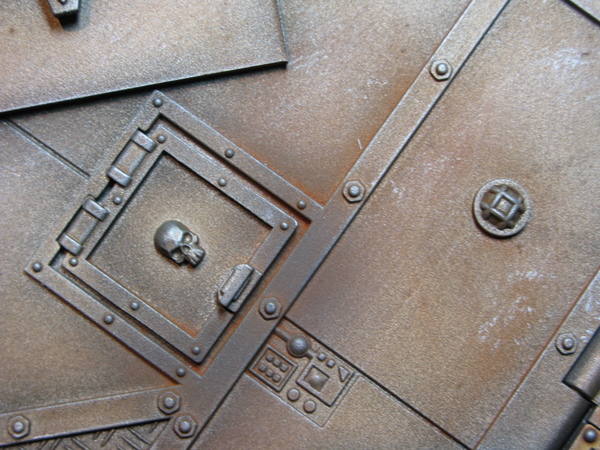
 Pigments!
My favourite part of the entire job, I used them dry for a change, 'spoon' them on with your brush, and rub them in the recesses, I used my normal favoured orangey-brown
Bloody magic. Contrast sorted

.
 Step 11
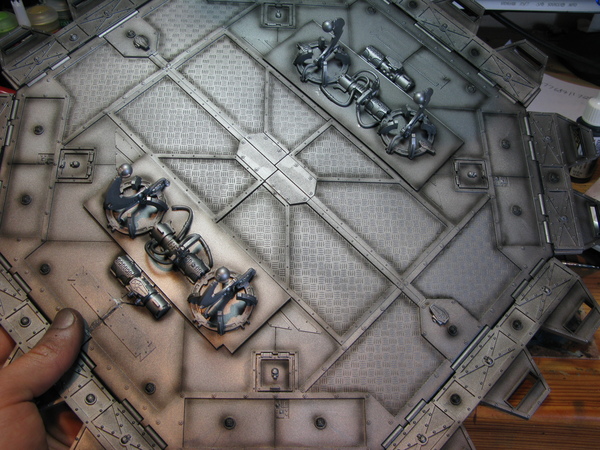
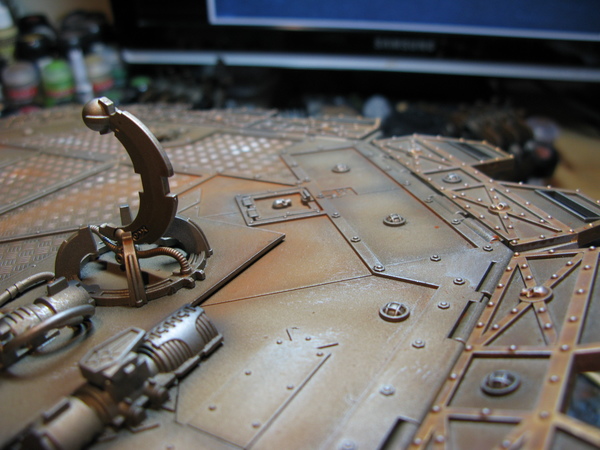
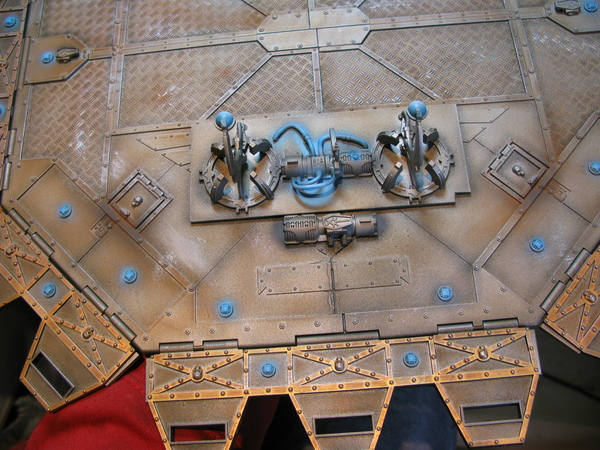
 Pigments Continued:
I also used them (more lightly) around the hatches on top, and also tried to mimmick the paths that troops would take to get to get on or off their aircraft in the centre. I also popped them around the technical doo-dah sections as they had some nice recesses for contrast.
 Step 12
 Lighting:
I did the lit sections in exactly the same way as outlined in my
How to Speed Paint Necron Infantry tutorial. Colours went from Hawk turquoise - Ice blue - White.

 Done!
Done!
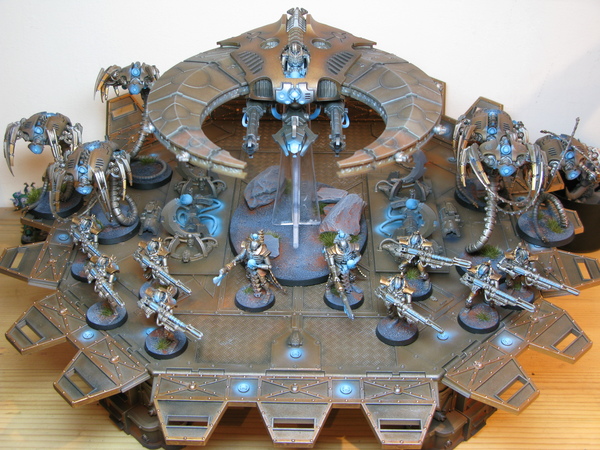
I've changed the format ever so slightly for this one, sometimes including 2 or 3 pictures to demonstrate one step. Does this work any better or worse in your opinions? Let me know here or on our twitter with your thoughts or any other feedback whatsoever.
What our customers are saying...
Sign up for our newsletter - for the latest news and promotions